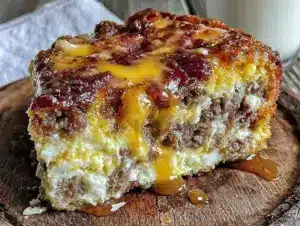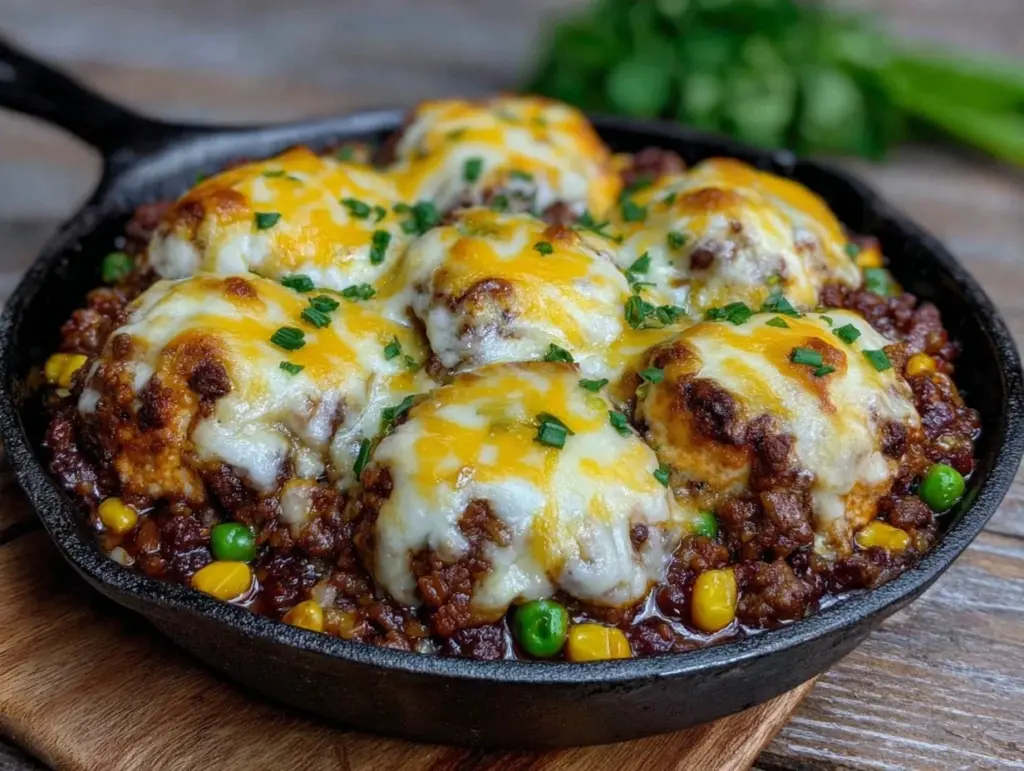
There is a specific kind of exhaustion that hits around 6:30 PM on a Tuesday. You know the one. The kind where you stare into the refrigerator, half-expecting the leftover takeout containers to magically rearrange themselves into a gourmet meal. Last week, I was in that exact headspace. My kids had been bouncing off the walls all day, my husband was dragging his feet about what to eat, and the thought of standing over a stove for an hour felt like climbing Mount Everest. I didn’t want salad. I didn’t want “light” food. I wanted something warm, hearty, and deeply satisfying—the kind of meal that hugs you from the inside out.
So, I did what I always do when I’m too tired to think but too hungry to compromise: I threw everything onto a single sheet pan. I wasn’t aiming for elegance. I was aiming for survival. But when I pulled that pan out of the oven, the smell of browning beef, savory spices, and melting cheddar cheese wafting through the house actually made my husband stop and sniff the air. He looked at me like I’d just ordered us pizza from a fancy Italian place. That’s when I knew I had struck gold.
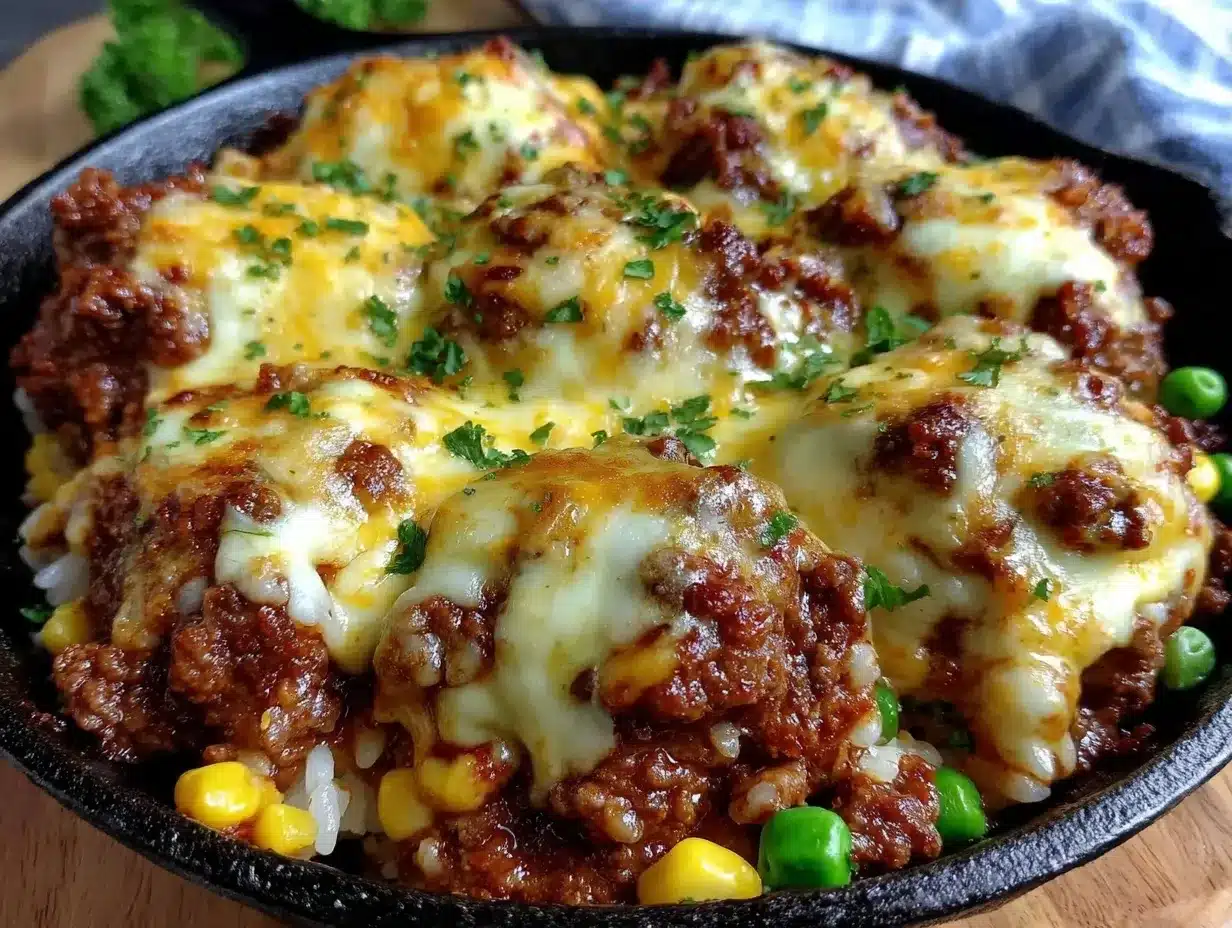
This Sheet Pan Ground Beef and Rice Skillet with Melted Cheese isn’t just a dinner; it’s a lifeline. It’s the dish that saved our weeknight routine. It tastes like the best comfort food you’ve ever had, but with zero fuss. The rice gets tender and absorbs all that beefy, cheesy flavor, while the ground beef gets just a little bit crispy at the edges. And that layer of melted cheese on top? It’s not just garnish. It’s the entire point. It’s gooey, salty, and irresistible. I’ve made this at least six times in the last month, and every single time, the pan is licked clean. It’s better than takeout because it’s fresh, it’s cheaper, and it smells like home. If you’re tired of the same old chicken and rice routine, this is your new best friend.
Why You’ll Love This Recipe
Real talk: most “easy” recipes require at least three separate pots, a chopping board that ends up looking like a crime scene, and twenty minutes of active stirring. This Sheet Pan Ground Beef and Rice Skillet with Melted Cheese flips the script. It’s designed for people who love good food but hate the cleanup. Here’s why this dish has earned a permanent spot in our weekly rotation:
- One Pan, Zero Guilt — Seriously, one baking sheet. That’s it. No pots to scrub, no pans to soak. I’ve made this while juggling homework help and dog walking, and the cleanup takes less time than it takes to eat. It’s the ultimate low-effort, high-reward meal.
- Flavor That Actually Develops — Because it’s baked, not boiled, the rice absorbs the beef broth and spices without getting mushy. The beef caramelizes slightly on the hot pan, giving you those savory, browned bits that you just can’t get in a soup. It has depth. It has character.
- The Cheese Factor — We’re talking about a thick, golden layer of melted cheddar (or whatever cheese you’re feeling) that blankets the entire dish. It’s not just a sprinkle; it’s a crust. It’s the kind of cheesy pull that makes your kids lose their minds and your partner ask for seconds before you’ve even sat down.
- Pick-Eater Proof — I’ve served this to my niece who refuses to eat anything brown, and she devoured it. The savory rice and melted cheese are universally loved. It’s a safe bet for dinner parties, family gatherings, or just feeding a hungry crew on a busy night.
- Meal Prep Friendly — This stuff tastes even better the next day. The flavors meld together overnight, and it reheats beautifully. I often make a double batch on Sunday so I have lunch sorted for the week. It’s hearty enough to keep you full until dinner.
- Customizable Comfort — Want it spicy? Add jalapeños. Want it green? Stir in some spinach or broccoli florets right at the end. It’s a blank canvas for your favorite veggies. It’s like a hug in a bowl, but on a sheet pan.
This is my go-to when I want to impress without spending hours in the kitchen. It’s reliable, it’s delicious, and it makes everyone happy. No complicated techniques, no weird ingredients, just solid, comforting food that works every time.
Ingredients You’ll Need
Here’s the best part: you probably have most of this already in your pantry and fridge. This Sheet Pan Ground Beef and Rice Skillet with Melted Cheese relies on simple, accessible ingredients that come together to create something spectacular. I’m particular about a few things here, so let’s break down what you need and why.
For the Base:
Ground Beef (1 pound / 450g) — I use 80/20 lean-to-fat ratio. You want that fat for flavor. Lean beef gets dry and bland in this dish. If you can’t find 80/20, drain the excess grease before adding the rice, but don’t skip the fat entirely.
Long-Grain White Rice (1 cup / 200g) — Uncooked. Do not use instant rice or pre-cooked rice, or the texture will be wrong. Long-grain stays separate and absorbs the broth nicely. Basmati works too if you prefer a slightly fragrant option.
Beef Broth (1 ½ cups / 360ml) — Low-sodium is best so you can control the saltiness. Chicken broth works in a pinch, but beef gives it that deep, savory backbone. Use good quality broth if you can—this is a major flavor driver.
Onion (1 medium, finely diced / about 150g) — Yellow onion is standard, but white onion works too. Red onion is too sharp when baked. Dice it small so it cooks evenly and sweetens up in the oven.
Garlic (3 cloves, minced / about 1 tablespoon) — Fresh only. Jarred garlic has a metallic aftertaste that really shows up in this simple recipe. Mince it fine so it distributes evenly.
For the Flavor:
Tomato Sauce (½ cup / 120ml) — Not ketchup, not marinara. Just plain tomato sauce or passata. It adds moisture and a subtle tang that balances the rich beef and cheese.
Worcestershire Sauce (1 teaspoon) — This is the secret weapon. It adds umami and depth. You won’t taste “Worcestershire” specifically, but the flavor will be richer and more complex. Trust me on this.
Smoked Paprika (1 teaspoon) — This gives it that subtle smoky note, like it was grilled. Regular paprika works, but smoked adds a layer of complexity that feels elevated.
Garlic Powder (½ teaspoon) — Adds a concentrated garlic punch that complements the fresh cloves.
Salt and Black Pepper — To taste. I usually use about 1 teaspoon of salt and half a teaspoon of pepper, but adjust based on your broth’s sodium level.
For the Topping:
Shredded Cheddar Cheese (1 ½ cups / 170g) — Sharp cheddar is best for flavor. Mild cheddar is too bland. Use a block and shred it yourself. Pre-shredded cheese has anti-caking agents that prevent it from melting smoothly, and we want that glorious, gooey melt.
Optional Add-ins:
Diced Bell Peppers (1 cup) — Red or green, your choice. Adds crunch and sweetness.
Jalapeños (1-2, sliced) — For heat.
Fresh Parsley (2 tablespoons, chopped) — For a pop of color and freshness at the end.
Pro Tip: I always keep a bag of shredded cheddar in the freezer. It’s a lifesaver for nights like this. If you’re using frozen cheese, it might take a minute longer to melt, but the flavor is the same.
Equipment Needed
You don’t need fancy equipment for this. Here’s what I actually use, and what you can swap if you don’t have it.
Large Sheet Pan (18×13 inch) — I use a standard rimmed baking sheet. Make sure it’s big enough to spread the beef and rice in a single layer. If your pan is too small, the rice won’t cook evenly. I have a well-loved, slightly scratched pan from Costco that works perfectly.
Aluminum Foil or Parchment Paper — For easy cleanup. I prefer parchment because it prevents sticking, but foil works fine if you grease it well. We’re aiming for minimal dishes here.
Measuring Cups and Spoons — Standard stuff. Dollar store versions work fine. Accuracy matters here, especially with the rice-to-broth ratio.
Knife and Cutting Board — For dicing the onion and garlic. A sharp knife makes this go faster and safer.
Spatula — To mix everything on the pan and to scrape up any cheesy bits when serving.
Optional: Oven-Safe Skillet — If you don’t have a large sheet pan, you can make this in a large cast-iron skillet or oven-safe Dutch oven. The cooking time might vary slightly, so keep an eye on it.
Tool Tip: I’m obsessed with my rimmed baking sheets. The raised edges keep the cheese from dripping into the oven (which is a nightmare to clean). If your pans are old and warped, they might not sit flat, which can cause uneven cooking. New-ish pans are worth the investment.
How to Make It: Step-by-Step
Alright, let’s make this! I’m walking you through exactly how I do it, including the little tricks I’ve picked up to ensure that perfect texture and flavor.
Step 1: Prep and Preheat (5 minutes)
Preheat your oven to 400°F (200°C). Line your large sheet pan with foil or parchment paper. While the oven heats, dice your onion and mince your garlic. Have all your ingredients measured and ready. I know it seems fussy, but once you start mixing, things move fast, and you want to be organized.
Step 2: Cook the Beef (10 minutes)
Spread the ground beef evenly across the sheet pan. Use your spatula or hands to break it up into small crumbles. Pop the pan in the oven for 10 minutes. This partially cooks the beef and starts the browning process. Removing it after 10 minutes, the beef should be mostly browned but not fully done. Drain any excess grease if there’s a lot of it, but leave a little for flavor.
Step 3: Mix the Aromatics and Rice (5 minutes)
While the beef is cooking, mix the uncooked rice, beef broth, tomato sauce, Worcestershire sauce, smoked paprika, garlic powder, salt, and pepper in a large bowl. Once the beef is out of the oven, add the diced onion, minced garlic, and the rice mixture to the pan. Toss everything together until the rice is evenly distributed and coated in the sauce. Spread it out into a single, even layer. This is crucial for even cooking.
Step 4: Bake the Skillet (25 minutes)
Return the pan to the oven and bake for 25 minutes. The rice will absorb the liquid and become tender. After 25 minutes, check the rice. It should be cooked through and the liquid should be mostly absorbed. If it looks too dry, you can add a splash more broth and bake for 5 more minutes.
Step 5: Add the Cheese (5 minutes)
Remove the pan from the oven. Sprinkle the shredded cheddar cheese evenly over the top. Return the pan to the oven for 3-5 minutes, just until the cheese is melted, bubbly, and slightly golden. Keep a close eye on it—you want it melted, not burnt.
Step 6: Rest and Serve (5 minutes)
Take the pan out and let it rest for 5 minutes. This allows the rice to settle and the cheese to set slightly, making it easier to scoop. Garnish with fresh parsley if you’re feeling fancy. Serve straight from the pan. It’s rustic, it’s hot, and it’s ready to eat.
Total Time: About 50 minutes (15 minutes active, 35 minutes hands-off)
Expert Tips & Tricks
Here’s everything I’ve learned from making this dozens of times. These tips will save you from my mistakes.
Don’t Skip the Partial Cook
Cooking the beef first ensures it’s browned properly. If you mix raw beef with the rice and bake it all at once, the beef might steam instead of brown, leading to a bland, gray texture. The partial cook gives it that savory depth.
Rice Ratio is Key
One cup of rice to 1 ½ cups of broth is the sweet spot. Too much liquid, and you get mush. Too little, and you get crunchy, undercooked rice. If you’re using a different type of rice, adjust the liquid accordingly. White rice is forgiving, but brown rice will need more time and more liquid.
Shred Your Own Cheese
I cannot stress this enough. Pre-shredded cheese contains cellulose, which prevents it from melting smoothly. Your cheese will be grainy and clumpy. Block cheese melts into that perfect, gooey blanket we’re aiming for. It takes 2 minutes and makes a huge difference.
Spread It Evenly
When you mix the rice and beef, make sure it’s in a single layer. If you pile it up, the center will stay raw while the edges burn. Even distribution is the secret to consistent cooking.
Let It Rest
It’s tempting to dig in immediately, but letting it rest for 5 minutes allows the rice to finish absorbing any residual moisture and the cheese to set. It makes serving much cleaner and the texture better.
Variations & Substitutions
Once you’ve nailed the basic version, here’s how you can mix it up. I’ve tried all of these, and they’re all winners.
Vegetarian Version
Swap the ground beef for crumbled tofu or a plant-based ground meat substitute. Use vegetable broth instead of beef broth. The rest of the recipe stays the same. It’s surprisingly hearty and satisfying.
Spicy Kick
Add 1 teaspoon of cayenne pepper or red pepper flakes to the rice mixture. Top with sliced jalapeños before adding the cheese. If you like heat, this version is for you.
Green Machine
Stir in 2 cups of fresh spinach or chopped broccoli florets after the rice is baked but before adding the cheese. The residual heat will wilt the spinach or tenderize the broccoli. It’s an easy way to sneak in veggies.
Cheese Swap
Cheddar is classic, but Monterey Jack, Pepper Jack, or even a Mexican blend works great. For a tangier flavor, try a mix of cheddar and feta. Go crazy with what you love.
Gluten-Free
This recipe is naturally gluten-free, provided your beef broth and Worcestershire sauce are GF (check labels, as some brands contain wheat). Use GF rice if needed, though white rice is usually safe.
Dairy-Free
Skip the cheese or use a dairy-free shreds that melt well. The flavor will be different, but it’s still a solid meal. You can add a drizzle of olive oil or avocado on top for richness.
Serving & Storage
How to Serve:
I usually serve this straight from the sheet pan at the dinner table—it looks rustic and stays warm. But here are other ways I’ve enjoyed it:
- Sides: A simple green salad with a vinaigrette cuts through the richness. Roasted asparagus or green beans are also great. Garlic bread is optional, but honestly, the cheese crust is bread enough for me.
- Toppings: When I have guests, I put out extra cheese, sour cream, salsa, and fresh cilantro. Everyone customizes their bowl.
- Drinks: This pairs well with a crisp beer or a glass of iced tea. For a more indulgent meal, pair it with one of my Frozen Strawberry Lemonade Slushies for a refreshing contrast.
Storage Instructions:
Refrigerator:
Store leftovers in an airtight container for up to 4 days. The rice will firm up in the fridge, which is normal.
Reheating:
Best method: Add a splash of water or broth to a skillet and reheat over medium-low heat, stirring occasionally. This restores the moisture. Microwave method: Heat in 1-minute intervals, stirring between, and add a splash of water to prevent drying out.
Freezing:
This doesn’t freeze well. The rice becomes mushy upon thawing, and the cheese separates. It’s best made fresh or stored in the fridge for a few days.
Pro Tip: If you’re meal prepping, make the rice mixture ahead and store it in the fridge. When you’re ready to eat, just bake it with the beef and cheese. It saves even more time.
Nutrition Information
I’m not a nutritionist, but here’s the breakdown if you’re tracking. Note that this is an estimate based on standard ingredients.
Per Serving (based on 6 servings):
– Calories: 450
– Protein: 28g
– Carbs: 42g
– Fiber: 2g
– Sugar: 4g
– Fat: 18g
– Saturated Fat: 8g
– Cholesterol: 75mg
– Sodium: 650mg
What’s Good:
– High protein from the beef and cheese.
– Satisfying and filling.
– Can add veggies to boost fiber and nutrients.
What to Know:
– Higher in calories and sodium due to the cheese and broth.
– Contains dairy and gluten (unless modified).
– Use low-sodium broth and leaner beef to reduce calories and sodium.
My Take:
Look, this is comfort food. It’s rich, cheesy, and hearty. It’s not a diet recipe. But it’s way better than takeout, costs less, and I know exactly what’s in it. When I want to make it lighter, I use leaner beef, less cheese, and add extra veggies. But usually? I just eat a reasonable portion and enjoy it.
Final Thoughts
So that’s my go-to Sheet Pan Ground Beef and Rice Skillet with Melted Cheese! I’ve probably talked your ear off at this point, but when you make a recipe this often, you have a lot to say about it. This has saved weeknight dinners more times than I can count. It’s my answer to “what’s for dinner” when I’m tired, don’t want takeout, and still want something that tastes really good. My kids are happy, my husband’s happy, and I’m happy because I’m not stressed about cooking.
Make it yours! Try different add-ins, swap in your favorite vegetables, adjust the spice level. The best recipes are the ones you adapt to your family’s tastes. If you’re looking for more easy, crowd-pleasing meals, check out my Labor Day BBQ Chicken Sliders for a fun party option, or my Charred Lemon Grilled Chicken for a slightly fancier weekend dinner.
If you make this, drop a comment and let me know what you think! I love hearing how recipes turn out in your kitchen. And if something doesn’t work, tell me that too—I’m here to help troubleshoot. Happy cooking! And I hope your kitchen smells half as good as mine does right now.
Frequently Asked Questions
Can I use brown rice instead of white rice?
You can, but you’ll need to adjust the cooking time and liquid. Brown rice takes longer to cook and absorbs more liquid. I recommend using 2 cups of broth and baking for 45-50 minutes. Check the rice halfway through to make sure it’s not drying out. White rice is faster and more forgiving, but brown rice adds a nutty flavor and more fiber.
Why did my rice turn out mushy?
This usually means there was too much liquid. Every brand of rice absorbs liquid differently, so if your rice is thinner, use slightly less broth. Also, make sure you’re not covering the pan tightly with foil while baking, as trapped steam can make the rice soggy. Leave the foil loosely tented or remove it for the last few minutes.
Can I make this ahead of time?
Yes! You can prep the rice mixture and beef up to 24 hours in advance. Store them separately in the fridge. When you’re ready to eat, just combine them on the pan and bake as directed. This is great for busy weeknights when you want to minimize active time.
Why did my cheese burn?
Ovens vary. If your oven runs hot, keep a close eye on the last 3-5 minutes. You can also place the pan on a lower rack to avoid direct heat from the top element. If the cheese is browning too fast, you can tent it loosely with foil.
Can I use ground turkey or chicken?
Absolutely. Ground turkey or chicken will be leaner, so you might want to add a tablespoon of olive oil to the mix to prevent dryness. The cooking time will be the same. It’s a lighter option that still tastes delicious.
How do I reheat leftovers without it getting dry?
Add a splash of water or broth when reheating. Whether you’re using the microwave or a skillet, the extra moisture helps restore the creamy texture of the rice. Cover it while reheating to trap the steam.
Can I double this recipe?
Yes, but you’ll need two sheet pans. Do not crowd the pan, as the rice needs space to cook evenly. If you double it, just bake both pans on the same rack, swapping them halfway through for even browning.
Pin This Recipe!
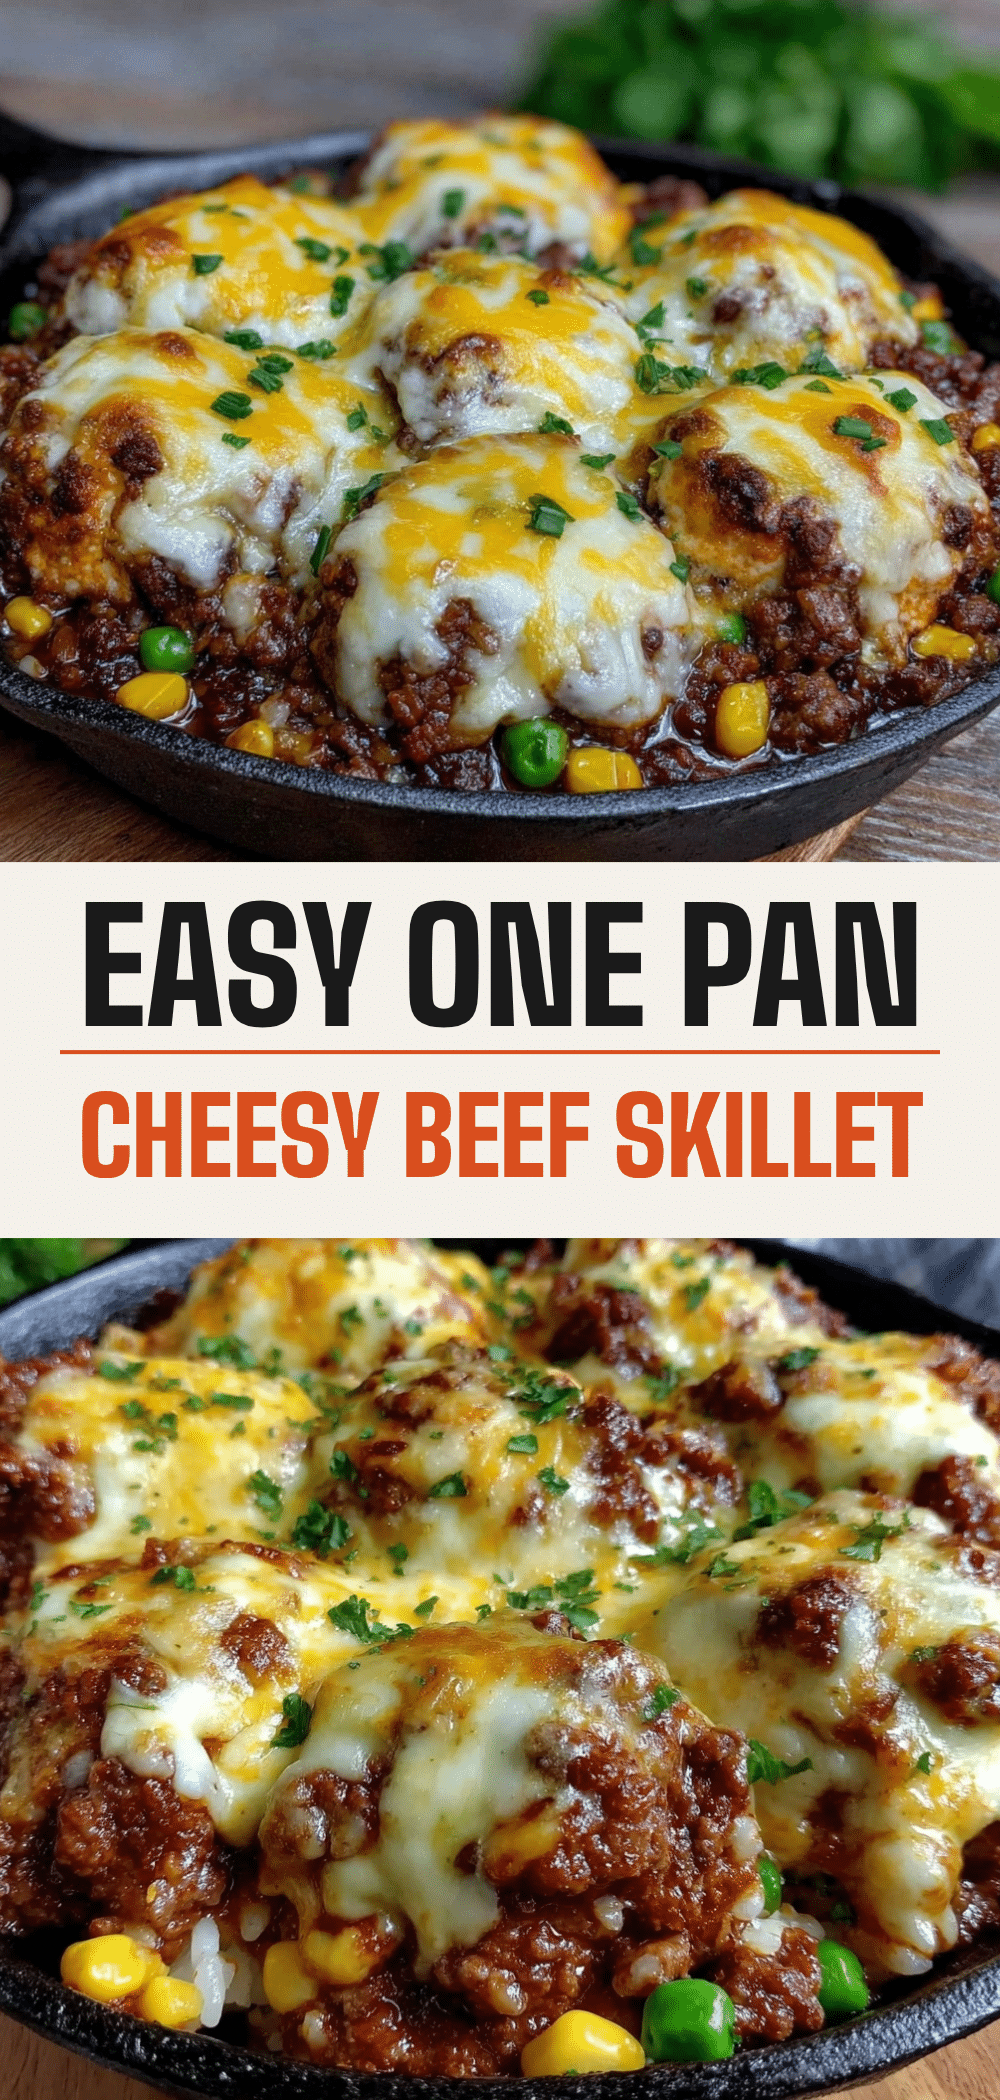

Sheet Pan Ground Beef and Rice Skillet with Melted Cheese
- Total Time: 50 minutes
- Yield: 6 servings 1x
Description
A hearty, one-pan weeknight dinner featuring browned ground beef, tender long-grain rice, and savory spices, all topped with a layer of melted cheddar cheese for ultimate comfort.
Ingredients
- 1 pound ground beef (80/20 lean-to-fat ratio)
- 1 cup long-grain white rice (uncooked)
- 1 ½ cups beef broth (low-sodium)
- 1 medium onion, finely diced
- 3 cloves garlic, minced
- ½ cup tomato sauce
- 1 teaspoon Worcestershire sauce
- 1 teaspoon smoked paprika
- ½ teaspoon garlic powder
- 1 teaspoon salt (or to taste)
- ½ teaspoon black pepper (or to taste)
- 1 ½ cups shredded cheddar cheese
- Optional: 1 cup diced bell peppers, 1-2 sliced jalapeños, 2 tablespoons fresh parsley
Instructions
- Preheat oven to 400°F (200°C). Line a large 18×13 inch sheet pan with aluminum foil or parchment paper.
- Spread ground beef evenly across the sheet pan and break into small crumbles. Bake for 10 minutes until mostly browned. Remove and drain excess grease if necessary.
- In a large bowl, mix uncooked rice, beef broth, tomato sauce, Worcestershire sauce, smoked paprika, garlic powder, salt, and pepper.
- Add diced onion, minced garlic, and the rice mixture to the partially cooked beef on the pan. Toss to combine and spread into a single, even layer.
- Return pan to oven and bake for 25 minutes, or until rice is tender and liquid is mostly absorbed.
- Remove from oven and sprinkle shredded cheddar cheese evenly over the top.
- Return to oven for 3-5 minutes until cheese is melted, bubbly, and slightly golden.
- Let rest for 5 minutes before serving. Garnish with fresh parsley if desired.
Notes
Do not use instant or pre-cooked rice. Shred your own cheese for better melting. Ensure ingredients are spread in a single layer for even cooking. This dish does not freeze well due to texture changes in the rice and cheese.
- Prep Time: 15 minutes
- Cook Time: 35 minutes
- Category: Main Course
- Cuisine: American
Nutrition
- Serving Size: 1 serving
- Calories: 450
- Sugar: 4
- Sodium: 650
- Fat: 18
- Saturated Fat: 8
- Carbohydrates: 42
- Fiber: 2
- Protein: 28
Keywords: sheet pan dinner, ground beef recipe, one pan meal, easy weeknight dinner, cheesy rice, comfort food, family friendly