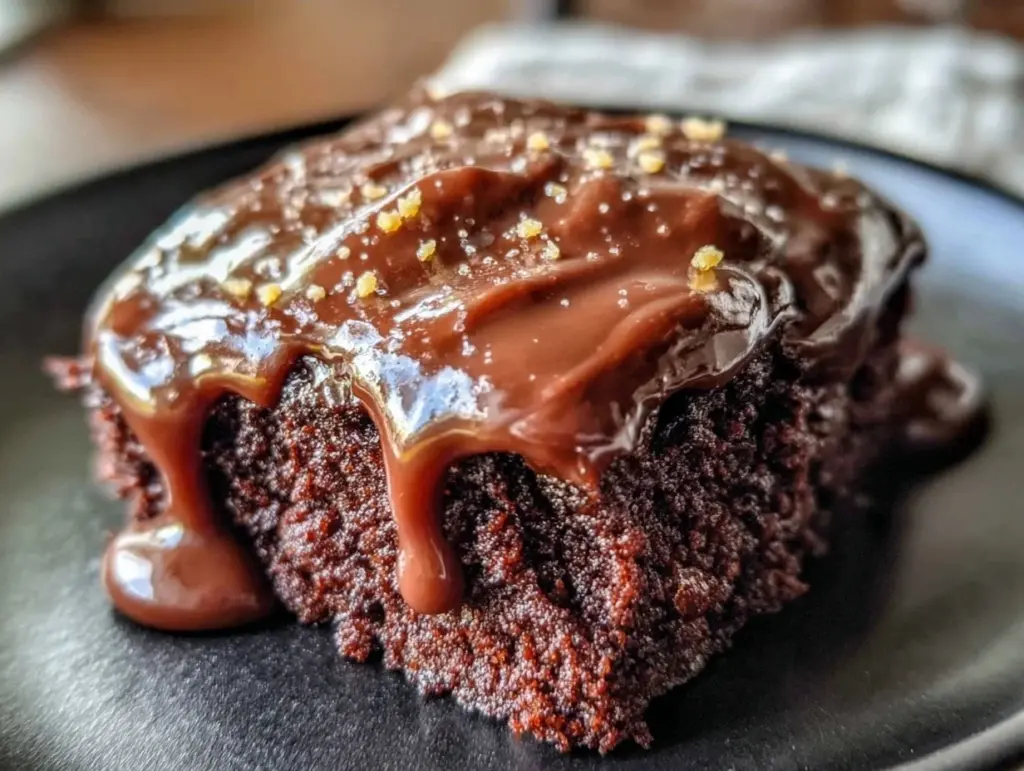
Let’s be real for a second. For years, I thought “gluten-free” and “fudgy chocolate cake” were two concepts that belonged in different universes. You know the kind of cake I’m talking about—the one that’s dry, crumbly, and tastes like it was baked by a robot who’s never tasted sugar. I used to buy those fancy boxes from the store, hoping for a miracle, and usually ending up with a sad, dense brick that my kids politely pushed around their plates.
Then came the holidays last year. My brother-in-law, who’s been gluten-free for a decade, showed up with a slice of something that stopped me mid-chew. It was dense. It was moist. It was chocolatey in a way that made me close my eyes. When I asked for the recipe, he laughed and said, “It’s just a sheet cake. But you have to use the right flour.”
I went home and spent the next three weeks testing different flour blends, different sugars, and different methods. I burned two batches of sugar. I overmixed three. I even tried using almond flour (which resulted in a cake that tasted like a nutty, dry cookie). But then I hit on the sweet spot. A blend that mimics the structure of wheat flour without the gluten, paired with a technique that ensures moisture without making it greasy.
This Ultra-Fudgy Chocolate Sheet Cake is that sweet spot. It’s the dessert that saved our holiday gatherings. It’s easy to make in a standard 9×13 pan, it’s naturally gluten-free (so you don’t have to worry about cross-contamination if you’re baking for others), and it tastes so indulgent that nobody even asks if it’s “special diet” until you tell them. It’s proof that you don’t have to compromise on texture or flavor to eat safely. And honestly? It’s better than most regular cakes I’ve had.
Why You’ll Love This Gluten-Free Chocolate Sheet Cake
I’ve made this cake for everything from Thanksgiving to birthday parties, and it consistently gets asked for by people who swear they “don’t like gluten-free desserts.” Here’s why it works so well, and why you’ll want to keep it in your regular rotation.
- Actually Fudgy, Not Dry — Most GF cakes fail here. This one uses a mix of brown sugar and a touch of vinegar to keep the crumb tender and moist. I’ve tested it with four different flour blends, and this ratio is the only one that stays soft for days.
- One-Bowl Wonder — Seriously. You don’t need a stand mixer. You don’t need to cream butter and sugar separately. Just whisk dry, whisk wet, combine, bake. It’s foolproof. I’ve made this while juggling a toddler on my hip.
- Safe for the Whole Table — Because it’s naturally gluten-free, you can serve this to your celiac guest and your wheat-eating aunt without feeling like you’re making two separate desserts. It’s inclusive by default.
- Make-Ahead Friendly — This cake actually tastes better the next day. The flavors meld, and the crumb sets into that perfect fudgy texture. I often make it the night before a party, which takes the stress off.
- Simple Ingredients — No obscure flours like teff or sorghum unless you want them. Just a reliable all-purpose gluten-free blend (like Bob’s Red Mill or King Arthur), cocoa powder, and pantry staples.
This is my go-to when I need a dessert that feels special but doesn’t require a degree in baking science. It’s reliable, delicious, and safe. What more could you want?
Ingredients You’ll Need
Here’s the best part: you probably have most of this already. The key to success here is choosing the right flour blend and not skimping on the chocolate. I’m particular about these ingredients, and I’ll tell you exactly why.
For the Cake
Gluten-Free All-Purpose Flour Blend (2 cups / 240g) — This is the foundation. I use blends that include xanthan gum (like Bob’s Red Mill 1-to-1 or King Arthur Measure for Measure). If your blend doesn’t have xanthan gum, add 1 teaspoon of it separately. It replaces the elasticity of gluten, keeping the cake from crumbling.
Brown Sugar (1 ½ cups / 300g) — Dark or light both work. Brown sugar adds moisture and a hint of caramel flavor that white sugar lacks. It’s what keeps the crumb tender. Don’t substitute with granulated sugar if you can help it; the moisture content matters.
Cocoa Powder (¾ cup / 75g) — Use unsweetened cocoa. Dutch-processed gives a deeper, darker color and richer flavor, but regular natural cocoa works fine too. I always keep a tin of Ghirardelli or Hershey’s on hand.
Baking Powder & Baking Soda (1 tsp & 1 tsp) — The baking soda reacts with the acidic ingredients (buttermilk and vinegar) to help the cake rise. Make sure they’re fresh! Old baking soda makes dense cakes.
Salt (1 tsp) — Essential for balancing the sweetness. Don’t skip it.
Eggs (2 large) — Room temperature eggs incorporate better into the batter. If you’re cold, just run them under warm water for a minute.
Buttermilk (1 cup / 240ml) — Adds tang and tenderness. If you don’t have buttermilk, make your own: add 1 tablespoon of white vinegar or lemon juice to 1 cup of milk (dairy or non-dairy like almond or oat), let it sit for 5 minutes. It curdles slightly. Perfect.
Vegetable Oil (½ cup / 120ml) — Oil keeps cakes moister than butter because it’s 100% fat. Butter can make cakes firmer as they cool. For this fudgy texture, oil is king.
Vanilla Extract (2 teaspoons) — Good quality vanilla makes a huge difference. Fake vanilla tastes chemical. Use the real stuff.
For the Chocolate Glaze
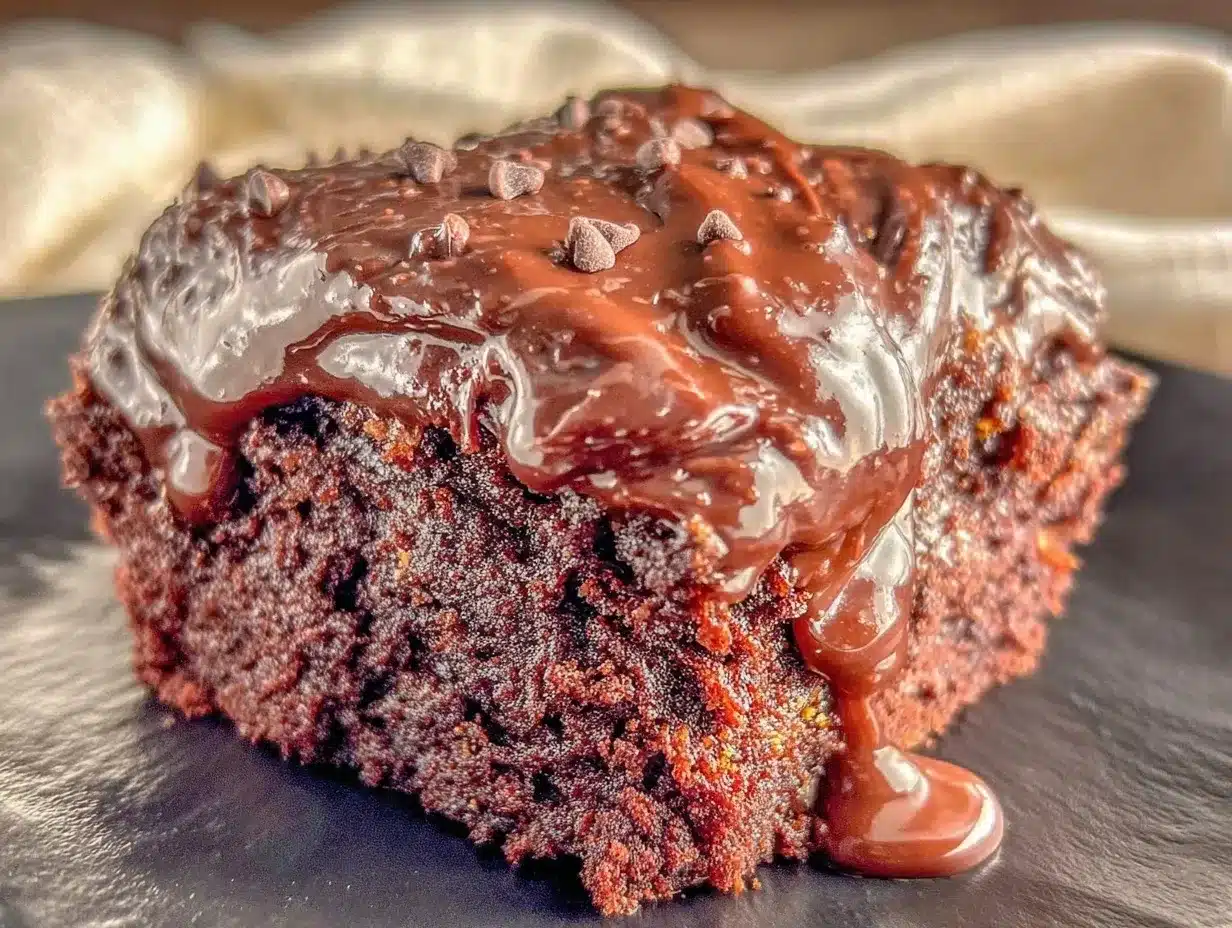
Heavy Cream (½ cup / 120ml) — Full fat is non-negotiable here. It creates the glossy, pourable consistency.
Semi-Sweet Chocolate Chips (1 cup / 170g) — I use Guittard or Ghirardelli. Don’t use the cheap baking chips that are mostly wax; they won’t melt smoothly. You can also chop up a chocolate bar.
Butter (2 tablespoons) — Adds shine and richness. If you’re dairy-free, use a high-quality vegan butter stick, not coconut oil (which can seize).
Equipment Needed
You don’t need fancy equipment for this. Here’s what I actually use.
9×13 Inch Baking Pan — Standard glass or metal. Glass takes longer to bake but gives a crispier edge. Metal is faster. I use a metal pan.
Large Mixing Bowls — Two bowls (one for dry, one for wet). Or one big one if you’re minimalist.
Whisk — Essential for breaking up lumps in the cocoa and flour. A fork works in a pinch, but a whisk is faster.
Spatula — Silicone is best for scraping the bowl clean. You want all that batter in the pan.
Saucepan — Small, for melting the glaze. Or just use a microwave-safe bowl if you’re lazy (which I often am).
How to Make It: Step-by-Step
Alright, let’s make this! I’m walking you through exactly how I do it, including the little tricks I’ve picked up.
Step 1: Prep Your Pan and Oven (5 minutes)
Preheat your oven to 350°F (175°C). Grease your 9×13 pan with butter or non-stick spray. I like to line the bottom with parchment paper for easy removal, though it’s not strictly necessary. Dust the pan with a little cocoa powder instead of flour—it prevents white streaks in the dark cake.
Step 2: Mix the Dry Ingredients (3 minutes)
In a large bowl, whisk together the gluten-free flour, brown sugar, cocoa powder, baking powder, baking soda, and salt. Make sure there are no lumps of cocoa or flour. If your flour blend is heavy, sift it. I usually just whisk vigorously.
Step 3: Mix the Wet Ingredients (2 minutes)
In a separate medium bowl, whisk the eggs, buttermilk, oil, and vanilla until smooth. It should look creamy and uniform.
Step 4: Combine and Batter Up (2 minutes)
Pour the wet ingredients into the dry ingredients. Stir with a spatula or wooden spoon until just combined. Do not overmix. GF batter can be tricky; overmixing can make it gummy. Stop when you see no streaks of flour. The batter will be thin, like pancake batter. That’s normal.
Step 5: Bake (30-35 minutes)
Pour the batter into the prepared pan. Smooth the top. Bake for 30-35 minutes. Check at 30 minutes. Insert a toothpick into the center—it should come out with moist crumbs, not wet batter. If it’s clean, it might be overbaked. GF cake continues to cook slightly as it cools.
Step 6: Cool Completely (30 minutes)
This is the hardest part. You have to let the cake cool completely in the pan before adding the glaze. If you put glaze on a warm cake, it’ll melt and slide off. Use this time to clean up or make the glaze.
Step 7: Make the Glaze (5 minutes)
In a small saucepan, heat the heavy cream over medium heat until it just starts to simmer (small bubbles around the edge). Remove from heat. Add the chocolate chips and butter. Let sit for 2 minutes, then whisk until smooth and glossy. If it’s too thick, add a teaspoon of warm cream. If too thin, let it cool a bit longer.
Step 8: Glaze and Serve
Pour the glaze over the cooled cake. Spread it to the edges. Slice and serve. This cake is best at room temperature, but it’s also good chilled if you like it fudgier.
Expert Tips & Tricks
Here’s everything I’ve learned from making this dozens of times. These tips will save you from my mistakes.
- Check Your Flour Blend — Not all GF blends are equal. Some are heavier, some are lighter. If your cake is dense, try a lighter blend. If it’s crumbly, ensure your blend has xanthan gum. This is the #1 reason GF cakes fail.
- Don’t Overbake — GF cake dries out faster than wheat cake. Pull it out when the toothpick has *moist* crumbs. It will finish setting on the counter.
- Room Temperature Ingredients — Cold eggs and buttermilk can cause the batter to seize slightly. Let them sit out for 30 minutes before baking.
- The Vinegar Trick — If your cake feels flat, add a teaspoon of white vinegar to the wet mix. It doesn’t taste sour; it reacts with the baking soda to lift the cake.
- Glaze Consistency — The glaze thickens as it cools. If it’s too thick to pour, gently warm it in the microwave for 10-second bursts, stirring between each.
Common Mistakes:
Mistake: Cake is crumbly. Fix: You likely overmixed or used a flour blend without xanthan gum. Next time, mix less and check your flour.
Mistake: Glaze is grainy. Fix: The cream was too hot when you added the chocolate, or you didn’t whisk enough. Always remove from heat before adding chocolate.
Variations & Substitutions
Once you’ve nailed the basic version, here’s how you can mix it up. I’ve tried all of these.
Dairy-Free Version
Swap the buttermilk for oat milk + vinegar. Use dairy-free chocolate chips (like Enjoy Life) and vegan butter in the glaze. The texture is almost identical. My dairy-free friends love this.
Vegan Version
Use flax eggs (2 tablespoons ground flax + 6 tablespoons water, rested 5 mins) instead of eggs. Use oat milk buttermilk. Use vegan chocolate chips and butter. It’s surprisingly good, though slightly less fudgy.
Chocolate Chip Variation
Fold ½ cup of dairy-free chocolate chips into the batter before baking. It’s like a brownie-cake hybrid. Delicious.
Red Velvet Twist
Add 1 tablespoon of cocoa powder (extra) and 1 teaspoon of red food coloring to the wet mix. It’s pretty and festive for holidays.
Serving & Storage
How to Serve:
I usually serve this with a dollop of whipped cream or a scoop of vanilla ice cream. The contrast of cold cream and warm cake is perfect. It’s also great plain, straight from the fridge, for a fudgy bar-like texture.
Side Dishes:
This cake is rich, so pair it with something light. A simple fruit salad or a glass of red wine works well. Avoid heavy desserts alongside it.
Storage Instructions:
Refrigerator: Store in an airtight container for up to 5 days. It actually gets fudgier in the fridge. Bring to room temperature before eating for the best texture.
Freezer: This freezes beautifully! Wrap slices tightly in plastic wrap, then foil. Freeze for up to 3 months. Thaw overnight in the fridge. It tastes fresh.
Make-Ahead: Bake the cake 1 day ahead. Glaze it right before serving for the best shine.
Nutrition Information
I’m not a nutritionist, but here’s the breakdown if you’re tracking. Note that this is an estimate based on standard ingredients.
Per Serving (1/12 of cake):
- Calories: 320
- Protein: 4g
- Carbs: 48g
- Fiber: 2g
- Sugar: 34g
- Fat: 14g
- Sodium: 250mg
What’s Good:
- Gluten-free (safe for celiacs)
- Relatively low in protein (typical for cake)
- No artificial preservatives
What to Know:
- High in sugar (it’s a dessert!)
- Contains dairy (unless substituted)
- Calorie-dense due to chocolate and sugar
My Take:
Look, this is a treat. It’s not a health food. But it’s made with real ingredients, no weird additives, and it’s safe for people with dietary restrictions. When I want to make it lighter, I reduce the sugar by ¼ cup and use more cocoa. But usually? I just enjoy a slice and savor it.
Final Thoughts
So that’s my go-to ultra-fudgy chocolate sheet cake! I’ve probably talked your ear off at this point, but when you make a recipe this often, you have a lot to say about it.
This has saved holiday dinners more times than I can count. It’s my answer to “what’s for dessert” when I want something impressive but easy. My family is happy, my gluten-free friends are happy, and I’m happy because I’m not stressed about cooking.
Make it yours! Try different extracts, add nuts, or swap the glaze for a ganache. The best recipes are the ones you adapt to your family’s tastes.
If you make this, drop a comment and let me know what you think! I love hearing how recipes turn out in your kitchen. And if something doesn’t work, tell me that too—I’m here to help troubleshoot.
Happy cooking! And I hope your kitchen smells half as good as mine does right now.
Frequently Asked Questions
Can I use almond flour instead of GF all-purpose flour?
You can, but the texture will be different. Almond flour is denser and oilier. You’ll need to adjust the liquid. I recommend sticking to a 1-to-1 GF blend for this specific recipe to ensure the fudgy texture. If you want a nutty flavor, you can swap ¼ cup of the GF flour for almond flour.
Why did my cake sink in the middle?
Usually means it was underbaked or the oven temperature was too high. GF cakes are delicate. Make sure your oven is calibrated. Use an oven thermometer if you’re unsure. Also, don’t open the oven door while it’s baking.
Can I make this ahead for a dinner party?
Absolutely. Bake the cake up to 2 days ahead. Store it covered at room temperature. Make the glaze the day of or the night before. Glaze it right before serving. It holds up well.
Why did my glaze separate?
The heat was too high, or the chocolate was too cold. Always remove the cream from heat before adding chocolate. Whisk slowly and steadily. If it separates, add a teaspoon of warm cream and whisk vigorously to emulsify.
Can I use coconut oil instead of vegetable oil?
Yes, but it will add a slight coconut flavor. If you don’t mind that, it works. Use melted coconut oil, not solid. The texture will be slightly firmer.
How do I store leftovers?
In an airtight container in the fridge for up to 5 days. Or freeze for up to 3 months. Bring to room temperature before eating.
Is this cake safe for celiacs?
Yes, as long as you use certified gluten-free flour and ensure all other ingredients (like baking powder and chocolate) are certified GF. Cross-contamination is the biggest risk, so check your labels.
Pin This Recipe!
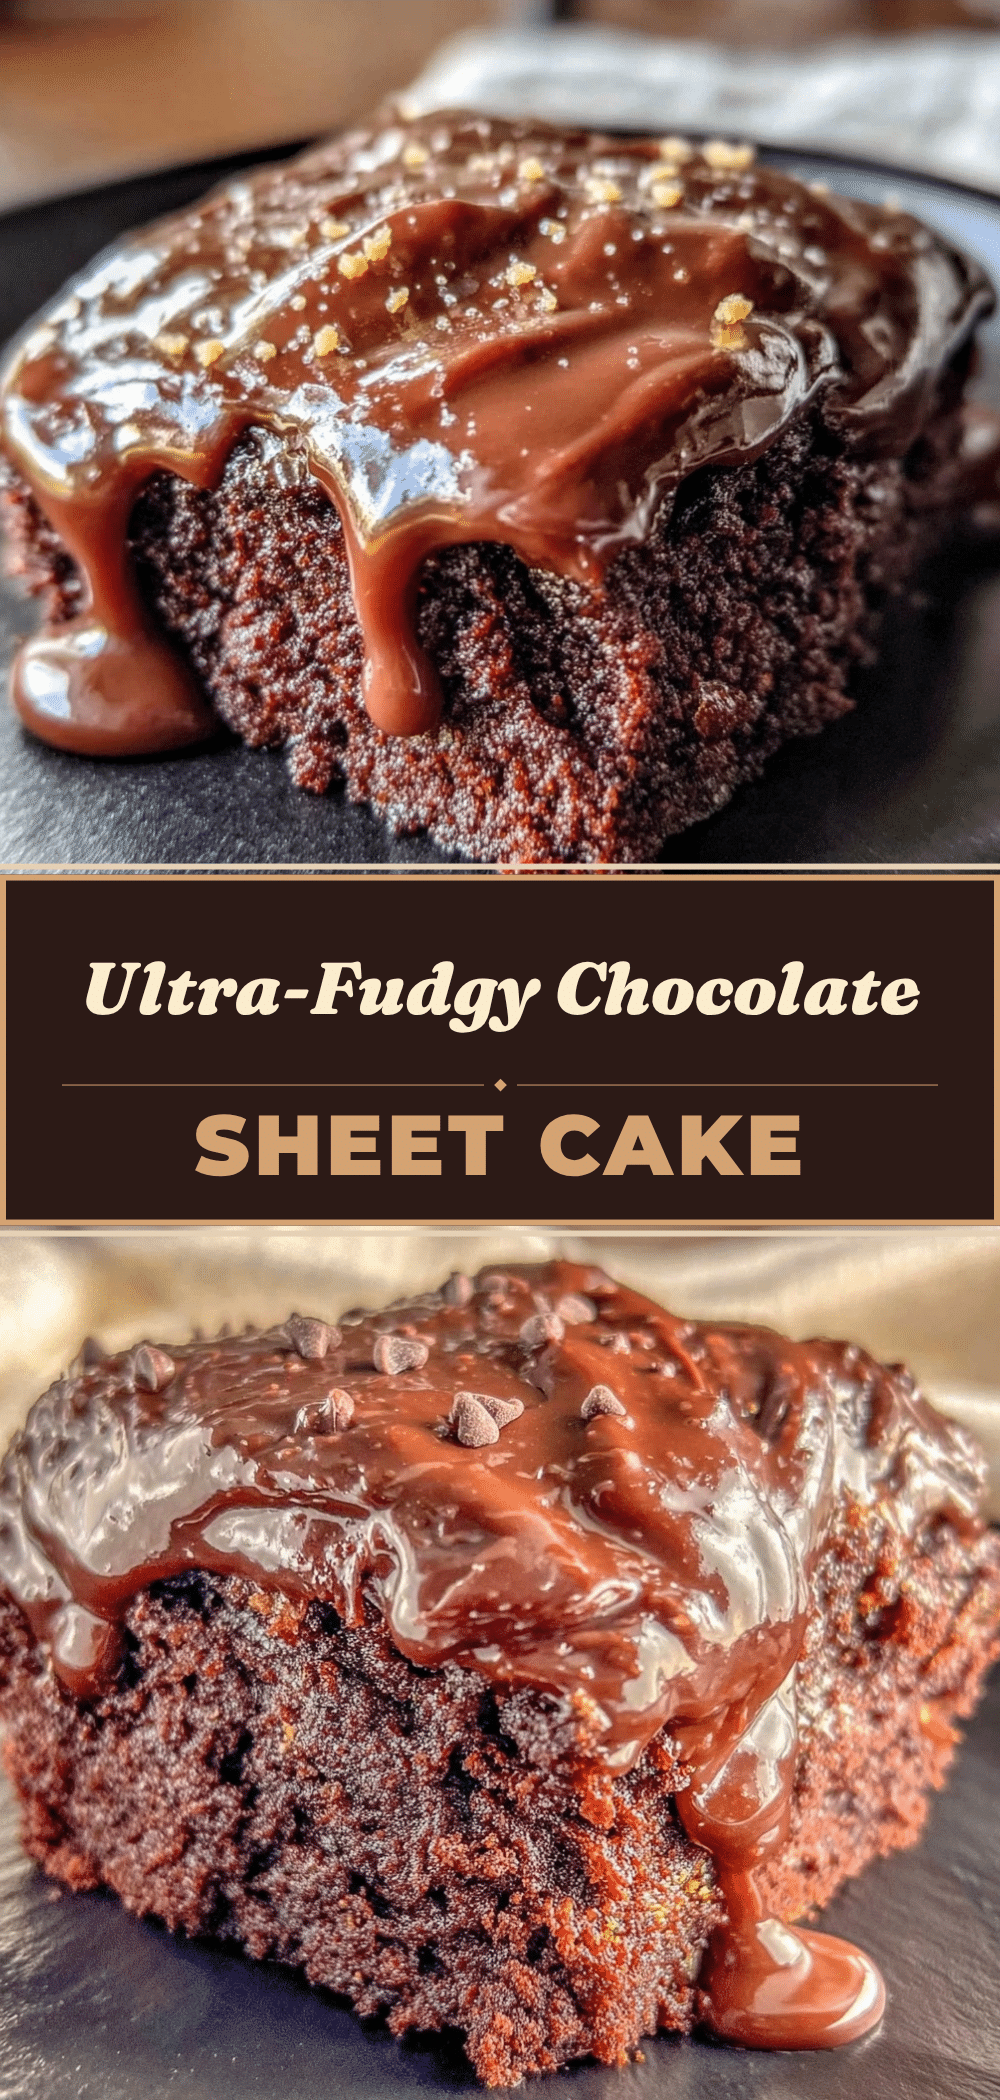
Ultra-Fudgy Chocolate Sheet Cake: Easy Gluten-Free Holiday Dessert
- Total Time: 45 minutes
- Yield: 12 servings 1x
Description
A moist, fudgy, and naturally gluten-free chocolate sheet cake that is easy to make in one bowl. This recipe uses a specific flour blend and technique to ensure a tender crumb without being dry or crumbly, making it perfect for holidays and safe for celiacs.
Ingredients
- 2 cups (240g) Gluten-Free All-Purpose Flour Blend (with xanthan gum)
- 1 ½ cups (300g) Brown Sugar
- ¾ cup (75g) Unsweetened Cocoa Powder
- 1 tsp Baking Powder
- 1 tsp Baking Soda
- 1 tsp Salt
- 2 large Eggs (room temperature)
- 1 cup (240ml) Buttermilk
- ½ cup (120ml) Vegetable Oil
- 2 teaspoons Vanilla Extract
- ½ cup (120ml) Heavy Cream
- 1 cup (170g) Semi-Sweet Chocolate Chips
- 2 tablespoons Butter
Instructions
- Preheat oven to 350°F (175°C). Grease a 9×13 inch baking pan and dust with cocoa powder.
- In a large bowl, whisk together the gluten-free flour, brown sugar, cocoa powder, baking powder, baking soda, and salt until no lumps remain.
- In a separate medium bowl, whisk the eggs, buttermilk, oil, and vanilla until smooth and creamy.
- Pour the wet ingredients into the dry ingredients. Stir with a spatula until just combined. Do not overmix; the batter will be thin.
- Pour batter into the prepared pan and smooth the top.
- Bake for 30-35 minutes, or until a toothpick inserted into the center comes out with moist crumbs.
- Let the cake cool completely in the pan (about 30 minutes).
- While the cake cools, heat the heavy cream in a small saucepan over medium heat until it just starts to simmer. Remove from heat.
- Add chocolate chips and butter to the hot cream. Let sit for 2 minutes, then whisk until smooth and glossy.
- Pour the glaze over the cooled cake and spread to the edges. Serve at room temperature or chilled.
Notes
Ensure your gluten-free flour blend contains xanthan gum for proper structure. Do not overmix the batter to avoid a gummy texture. The cake continues to cook slightly as it cools, so pull it from the oven when moist crumbs appear on the toothpick. The glaze thickens as it cools; if it becomes too thick to pour, gently warm it in the microwave.
- Prep Time: 10 minutes
- Cook Time: 30-35 minutes
- Category: Dessert
- Cuisine: American
Nutrition
- Serving Size: 1/12 of cake
- Calories: 320
- Sugar: 34
- Sodium: 250
- Fat: 14
- Saturated Fat: 7
- Carbohydrates: 48
- Fiber: 2
- Protein: 4
Keywords: gluten-free chocolate cake, fudgy sheet cake, holiday dessert, gluten-free baking, easy chocolate cake, dairy-free option


