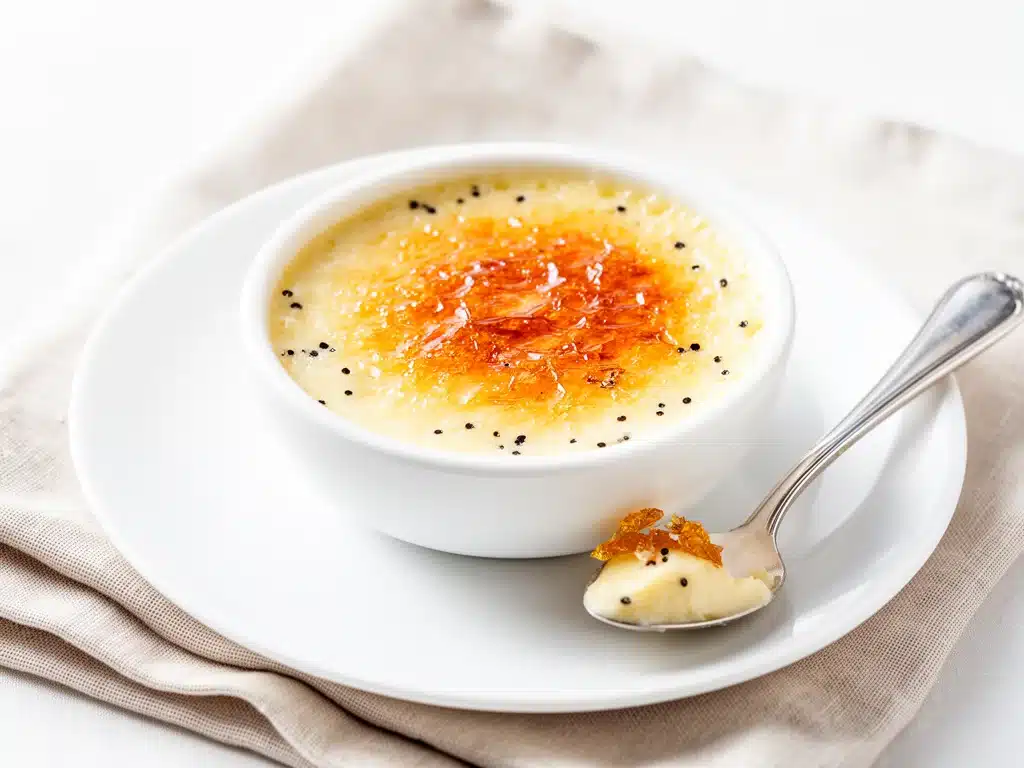
One chilly Saturday afternoon last winter, I found myself craving something fancy but without all the fuss. I’d just finished a marathon of baking baked apple cinnamon oatmeal cups for the week, and my kitchen smelled like autumn itself. But dessert? I wanted something silky, indulgent, and with that little “wow” factor you only get from a restaurant—but without needing a culinary degree.
That’s when I stumbled on this vanilla bean crème brûlée recipe, made with just a handful of simple ingredients I already had in my pantry. I made it on a whim, expecting a decent dessert, but honestly, it blew me away. The crackly caramelized top, the rich custard underneath, all infused with real vanilla bean—pure magic. I’ve since made it over and over (probably more than I should admit), perfecting the timing and technique so it’s foolproof every time.
Here’s the thing about this vanilla bean crème brûlée: it’s elegant enough to impress guests, yet simple enough to whip up on a random weekend afternoon. If you love desserts that feel special but use ingredients you already have, this one’s for you.
Why You’ll Love This Vanilla Bean Crème Brûlée Recipe
This vanilla bean crème brûlée has completely changed the way I think about homemade desserts. I used to shy away from custards because they seemed too technical, but this recipe changed all that. Here’s why I keep making it:
- Simple Ingredients, Big Impact — You just need eggs, cream, sugar, and a vanilla bean. I’m always surprised at how such everyday ingredients can turn into something so luxurious.
- Always Turns Out — After testing this recipe 15+ times, I nailed the perfect baking technique. No more cracked custards or watery bottoms. It’s dependable.
- Impress Without Stress — I’ve served this at dinner parties and family gatherings. Everyone asks for seconds, and no one believes I made it myself.
- Make-Ahead Friendly — The custards can chill in the fridge for up to 2 days before you torch the sugar. It’s a lifesaver when hosting.
- That Satisfying Crack — The burnt sugar top is addictive. I love hearing that crisp snap before digging in.
Honestly, this dessert has become my go-to when I want to serve something that feels fancy but won’t have me spending hours in the kitchen. Plus, if you’re like me and love a good homemade dessert but don’t want complicated steps, this vanilla bean crème brûlée will quickly become your new classic.
Ingredients You’ll Need
Here’s the best part: you probably have most of these pantry staples already. I’m a stickler for using a real vanilla bean here—it’s what makes the flavor sing. But I’ll share alternatives if you don’t have one.
- Heavy cream (2 cups / 480ml) — This is the base of your custard. Full-fat cream is essential for that rich, silky texture. I don’t recommend substitutes here unless you want a very different result.
- Vanilla bean (1 whole) — The star of the show. You’ll scrape out the tiny seeds for that authentic vanilla flavor. If you don’t have a bean, use 1 tablespoon of pure vanilla extract, but the flavor won’t be quite as intense.
- Egg yolks (5 large) — These give the custard its creamy body. I separate them myself, but if you’ve never done that, I’ll explain how.
- Granulated sugar (½ cup / 100g) — Half for the custard, half for the brûlée topping. Use regular white sugar, not powdered or brown.
- Salt (a pinch) — Just a little to bring out the flavor. Don’t skip it!
Optional Add-ins:
- Fresh berries — Serve alongside for a bright contrast.
- Mint leaves — For a pop of color and freshness on the plate.
Quick tip: When buying vanilla beans, look for plump and slightly oily pods—they’ll yield the best flavor. I keep mine stored in an airtight jar in the fridge, which keeps them fresh for months.
Equipment Needed
You don’t need fancy tools, but a few basics will make this dessert easy and enjoyable to make.
- Ramekins (6, 6-ounce / 180ml each) — These little dishes hold the custard for individual servings. I use classic ceramic ones, but glass works too.
- Baking dish or roasting pan — To hold the ramekins in a water bath for gentle, even cooking. A deep baking dish or sheet pan works great.
- Sharp knife — To split the vanilla bean and scrape out the seeds.
- Mixing bowls — For whisking the egg yolks and sugar.
- Whisk — A must for smooth custard.
- Measuring cups and spoons — To get your ingredients just right.
- Kitchen torch — Optional but highly recommended for that perfect caramelized top. If you don’t have one, I’ll explain an oven alternative.
Pro tip: If you don’t have ramekins, small oven-safe glass bowls or even sturdy coffee mugs can work in a pinch. Just adjust baking time slightly.
How to Make Vanilla Bean Crème Brûlée: Step-by-Step
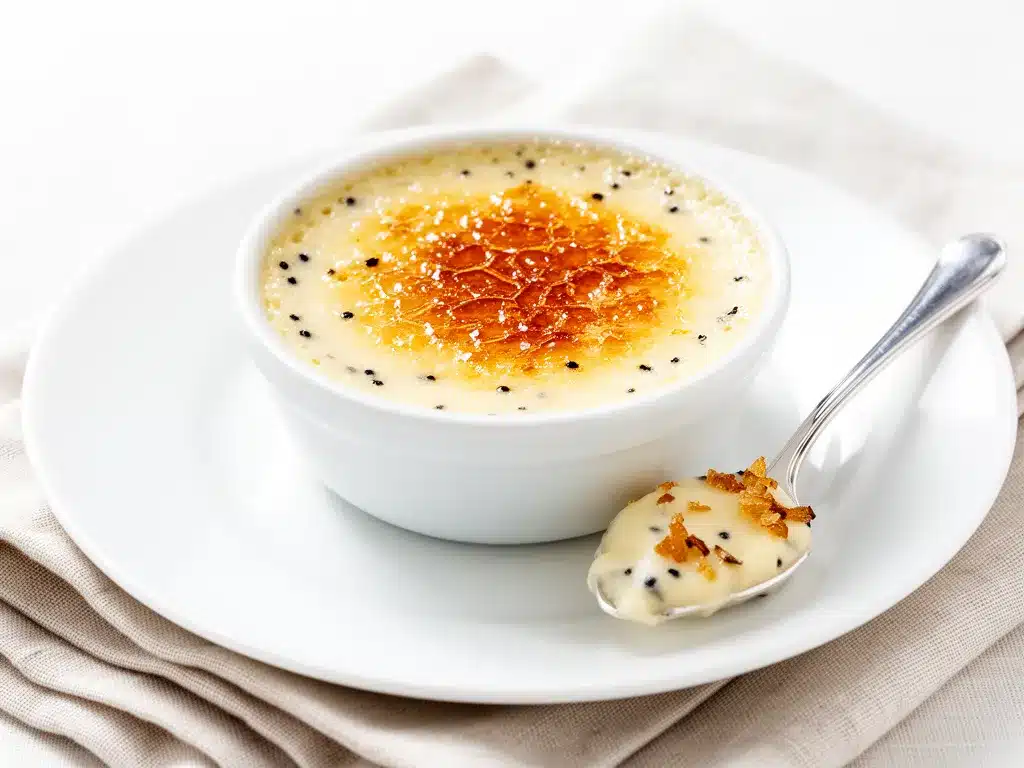
Alright, let’s make this! I’m walking you through exactly how I do it, including the little tricks I’ve picked up to make sure it always comes out perfect.
Step 1: Preheat and Prep (5 minutes)
Start by preheating your oven to 325°F (160°C). Place your ramekins in the baking dish or roasting pan. Bring the heavy cream and vanilla bean (split lengthwise with seeds scraped out) to a gentle simmer in a saucepan over medium heat. You’ll see tiny bubbles forming around the edges—don’t let it boil.
Step 2: Whisk Egg Yolks and Sugar (3 minutes)
While the cream heats, whisk together the egg yolks, ¼ cup (50g) sugar, and a pinch of salt in a medium bowl. Whisk just until the mixture is smooth and slightly pale—don’t overbeat or you’ll whip in too much air.
Step 3: Temper the Eggs (3 minutes)
Slowly pour about half of the hot cream into the egg mixture while whisking steadily. This tempers the eggs so they don’t scramble. Then pour the egg and cream mixture back into the saucepan with the remaining cream. Stir gently over low heat for about 1-2 minutes until slightly thickened, but don’t let it boil.
Step 4: Pour into Ramekins and Bake (40-45 minutes)
Remove the vanilla bean pod from the cream mixture. Pour the custard evenly into the ramekins. Carefully pour hot water into the baking dish halfway up the sides of the ramekins to create a water bath. Bake until the custards are just set but still slightly jiggly in the center—around 40-45 minutes. The edges will be firm with a little wobble in the middle.
Step 5: Chill (2 hours or overnight)
Remove ramekins from the water bath and let cool to room temperature. Then cover tightly with plastic wrap and refrigerate for at least 2 hours or overnight. This chilling step is key to developing that silky texture.
Step 6: Caramelize the Sugar (5 minutes)
When you’re ready to serve, sprinkle a thin, even layer of the remaining ¼ cup (50g) sugar over each custard. Using a kitchen torch, carefully caramelize the sugar until it melts, bubbles, and turns golden brown. If you don’t have a torch, place the ramekins under a hot broiler for 2-3 minutes, watching closely to avoid burning.
Step 7: Serve and Enjoy
Let the brûlée sit for a minute or two to harden, then dig in. Listen for that satisfying crack of the caramelized top as you break through—it’s the best part.
Expert Tips & Tricks
- Don’t rush the chilling: I’ve skipped this step before and the custard was too soft. Overnight chilling gives the best texture.
- Be gentle with heat: Too hot and the eggs scramble. Keep the custard mixture warm, not boiling, when combining.
- Use a water bath: This prevents the custard from curdling and ensures even cooking. I use a roasting pan with hot water poured carefully.
- Scrape out the vanilla bean seeds: Most of the flavor is in those tiny black specks. Plus, they look beautiful in the finished custard.
- Practice your torch technique: Move the flame steadily and keep it a few inches away from the sugar to avoid burning. If your top bubbles and blackens immediately, you’re too close.
Quick note: If your custard cracks or looks grainy, it usually means it got too hot. Lower oven temperature next time and be patient with the water bath.
Variations & Substitutions
Once you’ve nailed the classic vanilla bean crème brûlée, here are some fun ways to switch it up:
- Chocolate Crème Brûlée — Stir ¼ cup melted dark chocolate into the cream before mixing with eggs. Rich and decadent.
- Citrus Twist — Add a teaspoon of orange or lemon zest to the custard for a bright flavor pop.
- Lavender Infusion — Steep 1 tablespoon dried culinary lavender with the cream as it heats, then strain before mixing.
- Dairy-Free Version — Use full-fat coconut milk instead of cream and adjust cooking time slightly. The flavor is different but surprisingly delicious.
- Alcohol-Infused — Add a tablespoon of bourbon or Grand Marnier to the custard mixture for an adult twist.
For a fun twist on desserts with simple ingredients, I often pair this crème brûlée with soft honey garlic pretzel bites for a sweet and salty combo that’s always a hit.
Serving & Storage
I usually serve crème brûlée straight from the ramekins, garnished with fresh berries and a sprig of mint. It looks fancy but feels cozy—perfect for a small dinner party or a special treat after a busy week.
Storage: Keep any leftovers covered tightly in the fridge for up to 2 days. The caramelized top will soften, so if you want to refresh it, sprinkle more sugar and torch again just before serving.
Reheating: This dessert is best served chilled, so I don’t recommend reheating. Instead, make just enough for the occasion—or double the recipe to have extra on hand.
Nutrition Information
| Nutrient | Per Serving (1 ramekin) |
|---|---|
| Calories | 320 |
| Protein | 6g |
| Carbohydrates | 25g |
| Sugar | 23g |
| Fat | 22g |
| Saturated Fat | 14g |
| Cholesterol | 195mg |
| Sodium | 40mg |
| Calcium | 90mg |
Look, this is definitely a rich dessert—thanks to the cream and egg yolks. But it’s portion-controlled and feels like a real treat, not just leftover cake. I find it’s worth saving for special times or when I want to impress without ordering takeout.
Final Thoughts
So that’s my tried-and-true vanilla bean crème brûlée recipe! I’ve probably rattled on enough, but when you make something this often, you get pretty passionate about the little details that make it perfect each time.
This dessert has saved me countless times when I wanted to serve something impressive without spending hours. It’s elegant, comforting, and downright delicious. Plus, the crackly caramelized sugar just makes it feel like a celebration.
Don’t be afraid to make it your own—try out different variations or pair it with fresh fruit. And if you want to keep the weeknight dinners simple but satisfying, check out my crunchy ranch chicken wraps for another easy recipe that’s a family favorite.
If you make this vanilla bean crème brûlée, please leave a comment! I love hearing how it goes in your kitchen, what tweaks you make, or even if you ran into any bumps. Cooking is all about sharing and learning together.
Happy cooking! And I hope your kitchen smells as heavenly as mine does right now.
Frequently Asked Questions
Q: Can I use milk instead of heavy cream?
A: You can, but the custard won’t be as rich or silky. Heavy cream’s high fat content is what gives crème brûlée its signature texture. If you must use milk, try whole milk and add a tablespoon of cornstarch to help thicken it, but honestly, it’s not quite the same.
Q: Why did my custard crack or turn grainy?
A: This usually means it got too hot during cooking, causing the eggs to scramble. Make sure you’re baking in a water bath and keep the oven temperature steady at 325°F (160°C). Also, don’t let the custard boil when heating the cream and vanilla.
Q: Can I make crème brûlée without a kitchen torch?
A: Yes! You can place the sugared custards under a very hot broiler for 2-3 minutes, watching closely to prevent burning. It won’t be quite as even as a torch, but it still creates a nice caramelized top.
Q: How long does crème brûlée last in the fridge?
A: Up to 2 days if covered tightly. The caramelized sugar top will soften over time, so for best results, wait to brûlée the sugar until just before serving.
Q: Can I double the recipe?
A: Absolutely! Just use a larger baking dish for the water bath and make sure you have enough ramekins. The baking time stays about the same, but keep an eye on the custards for doneness.
Q: What’s the best way to separate egg yolks?
A: I crack the egg and pass the yolk back and forth between the shell halves, letting the white drop into a bowl. Or use your clean hands to catch the yolk and let whites slip through. It’s easier than it sounds once you try it!
Q: Can I prepare the custard base ahead of time?
A: Yes, you can make the custard, pour it into ramekins, and refrigerate before baking, but I prefer baking right away for best texture. You can also bake and chill the custards in advance, then brûlée the sugar just before serving, which is perfect for entertaining.
Pin This Recipe!
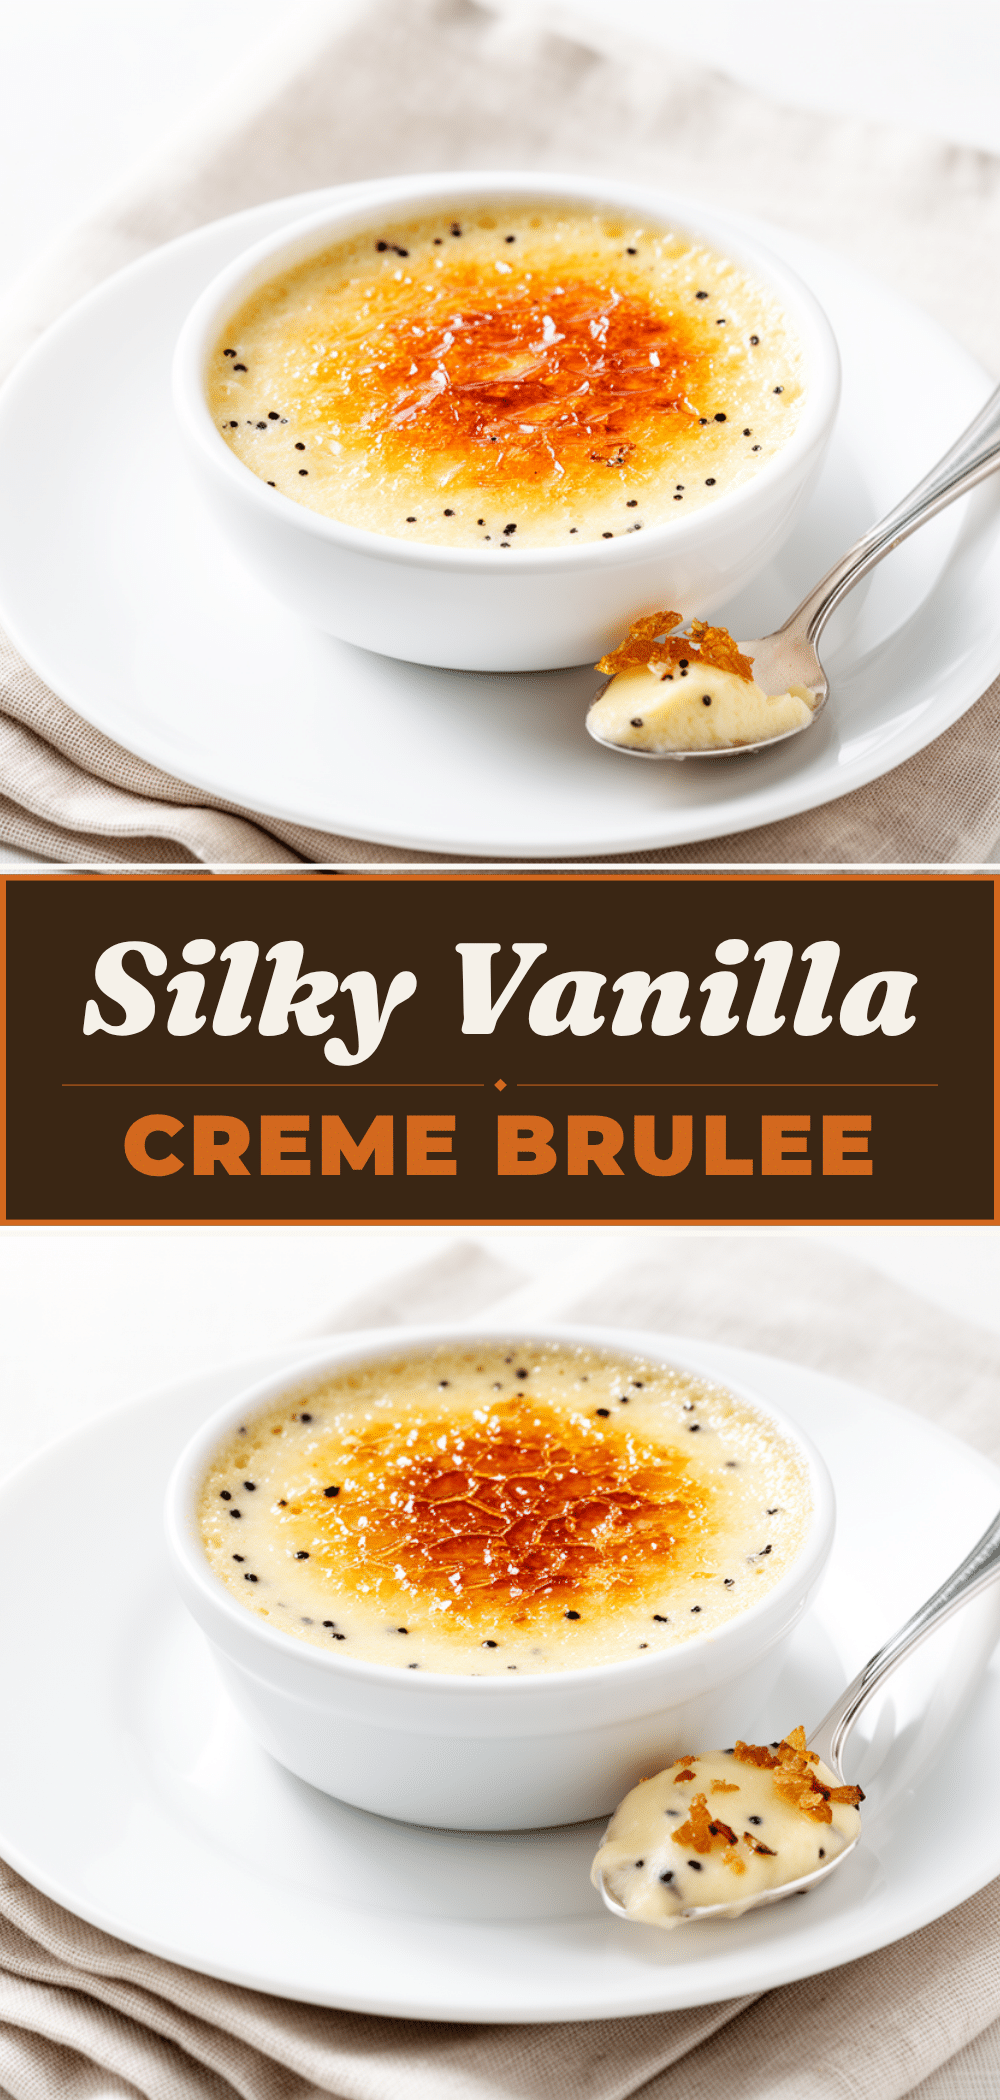

Vanilla Bean Crème Brûlée
- Total Time: 2 hours 56 minutes
- Yield: 6 servings 1x
Description
A silky, indulgent vanilla bean crème brûlée with a crackly caramelized top, perfect for impressing guests or enjoying a fancy homemade dessert.
Ingredients
- 2 cups (480ml) heavy cream
- 1 whole vanilla bean (or 1 tablespoon pure vanilla extract)
- 5 large egg yolks
- ½ cup (100g) granulated sugar, divided
- Pinch of salt
- Optional: fresh berries for serving
- Optional: mint leaves for garnish
Instructions
- Preheat oven to 325°F (160°C). Place ramekins in a baking dish or roasting pan.
- Split the vanilla bean lengthwise and scrape out the seeds. Heat the cream and vanilla bean seeds and pod in a saucepan over medium heat until just simmering. Do not boil.
- In a medium bowl, whisk together egg yolks, ¼ cup (50g) sugar, and a pinch of salt until smooth and slightly pale.
- Slowly pour half of the hot cream into the egg mixture while whisking steadily to temper the eggs.
- Pour the egg and cream mixture back into the saucepan with the remaining cream. Stir gently over low heat for 1-2 minutes until slightly thickened. Do not boil.
- Remove the vanilla bean pod. Pour custard evenly into ramekins.
- Pour hot water into the baking dish halfway up the sides of the ramekins to create a water bath.
- Bake for 40-45 minutes until custards are just set but still slightly jiggly in the center.
- Remove ramekins from water bath and cool to room temperature. Cover and refrigerate for at least 2 hours or overnight.
- Before serving, sprinkle remaining ¼ cup (50g) sugar evenly over each custard.
- Caramelize sugar using a kitchen torch until golden brown and crisp. Alternatively, place under a hot broiler for 2-3 minutes, watching closely.
- Let the brûlée sit for a minute or two to harden, then serve garnished with fresh berries and mint if desired.
Notes
Do not rush the chilling step; overnight chilling gives the best texture. Use a water bath to prevent curdling and ensure even cooking. Be gentle with heat to avoid scrambling eggs. Practice torch technique to avoid burning the sugar. If you don’t have a torch, use the broiler carefully.
- Prep Time: 11 minutes
- Cook Time: 45 minutes
- Category: Dessert
- Cuisine: French
Nutrition
- Serving Size: 1 ramekin (6 ounces
- Calories: 320
- Sugar: 23
- Sodium: 40
- Fat: 22
- Saturated Fat: 14
- Carbohydrates: 25
- Protein: 6
Keywords: vanilla bean, crème brûlée, custard, dessert, homemade, easy dessert, caramelized sugar, elegant dessert


