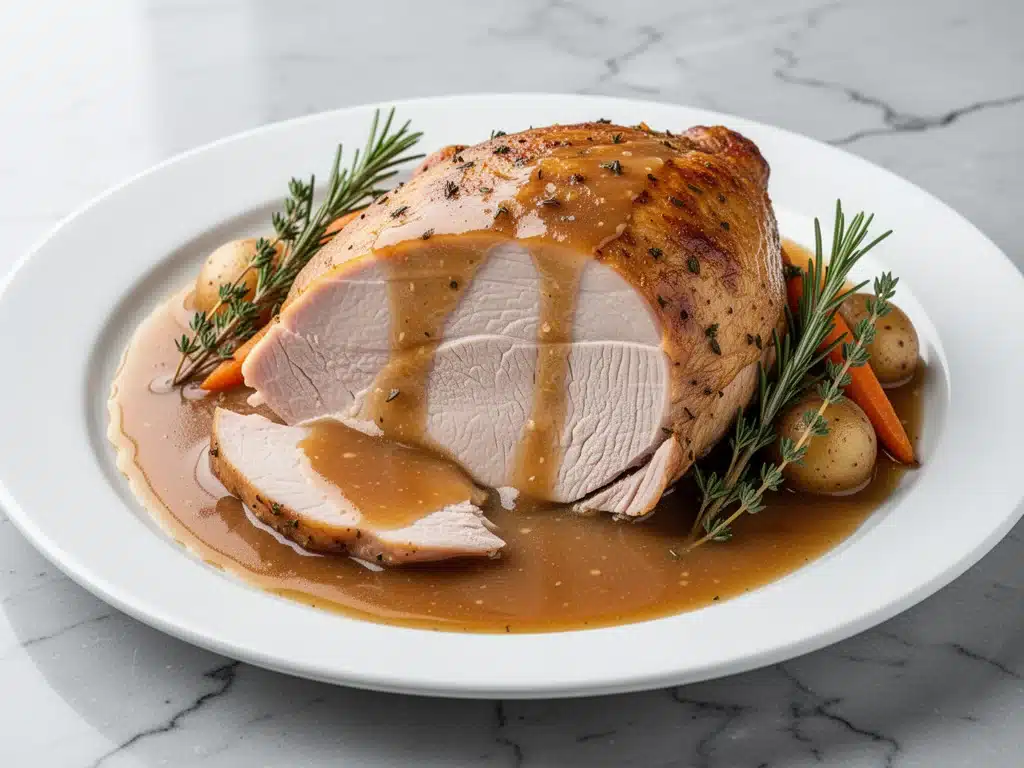
There is a specific kind of panic that hits every Canadian on the Tuesday before Thanksgiving. You know the one. You’re standing in the grocery store parking lot, staring at your cart full of cranberry sauce and pie crusts, when it finally hits you: You have no idea how to cook a bird that won’t end up dry, bland, or worse—burnt on the outside and raw in the middle.
I’ve been there. I’ve done it. And I’ve saved my family from it more times than I care to admit.
Last year, I attempted to be “fancy” and brined my turkey for 24 hours. The result? A bird that was so salty my husband asked if I was trying to preserve it for winter. This year, I went back to basics. I skipped the brine, skipped the complicated techniques, and focused on one thing: herb butter under the skin. The result? The most tender, juicy, fragrant Canadian Thanksgiving turkey my family has ever had. My mother-in-law actually asked for the recipe. That’s the highest honor in my book.
This isn’t just about cooking meat. It’s about the smell of sage and rosemary filling your house while the kids are running around with pumpkin pie. It’s about sitting down at the table with your feet up, knowing you didn’t spend the entire day stressed over a thermometer. This Canadian Thanksgiving herb butter roast turkey is your ticket to a stress-free holiday. It’s simple, it’s reliable, and it tastes like a five-star restaurant dinner, but made in your own kitchen.
Why You’ll Love This Herb Butter Roast Turkey
Look, I get it. Roasting a turkey is intimidating. But this method takes the fear out of the equation. Here’s why this recipe has become the centerpiece of our November holidays:
It’s Actually Juicy — Most dry turkey comes from overcooking or lack of moisture. By pushing herb butter directly under the skin, you’re basting the meat from the inside out. The fat renders down and keeps every bite succulent. I’ve tested this on turkeys ranging from 12 to 20 pounds, and it works every single time.
Zero Brining Hassle — Brining is great, but it’s a pain. You need a huge bucket, space in your fridge, and you have to remember to thaw the bird first. This method skips the brine entirely. The herb butter provides enough moisture and flavor that you won’t miss it. Plus, you save your fridge space for pies.
Garlic Bread Companion — This turkey pairs perfectly with garlic herb focaccia for the ultimate carb-loaded side dish. The leftover turkey makes incredible sandwiches, and if you’re feeling lazy, you can even shred it for a quick high-protein turkey chili later in the week.
Crowd-Pleasing Flavor — Some people are scared of herbs, thinking it will taste like potpourri. It won’t. The combination of sage, thyme, rosemary, and garlic is classic for a reason. It’s savory, aromatic, and familiar. Even the pickiest eaters at your table will go back for seconds.
Leftover Gold — This bird is designed for leftovers. The meat stays tender enough to shred for turkey pot pie or wrap up for sandwiches. I usually plan for about 1 pound of turkey per person, so you’ll have plenty of meat for the days following Thanksgiving.
Ingredients You’ll Need
The beauty of this recipe is that the ingredient list is short. You don’t need anything obscure. Most of this is already in your pantry or fridge. Here’s what you need to get that perfect golden skin and juicy meat.
For the Herb Butter (The Magic Part)
Unsalted Butter (1 cup / 225g, softened) — This is your moisture source. Use real butter, not margarine. Soften it on the counter for an hour before you start. If it’s cold, you’ll tear the skin trying to spread it.
Fresh Sage Leaves (1/2 cup, chopped) — Sage is the quintessential Thanksgiving herb. If you can’t find fresh, use 2 tablespoons of dried, but fresh makes a huge difference. Look for vibrant green leaves.
Fresh Thyme Leaves (2 tablespoons) — Thyme adds a subtle, earthy note. Strip the leaves from the stems. If you don’t have fresh, 1 tablespoon of dried works.
Fresh Rosemary (1 tablespoon, finely chopped) — Rosemary is strong, so don’t overdo it. Chop it finely so you don’t get woody bits in your bite.
Garlic (6 cloves, minced) — Yes, six cloves. Don’t be shy. Garlic and turkey are best friends. Minced, not pressed—pressed garlic can burn easier.
Onion (1 large yellow onion, quartered) — This goes inside the cavity, not the butter. It steams the bird from the inside and adds flavor.
Lemon (1 large, halved) — The acidity cuts through the richness of the butter and keeps the meat bright.
Salt and Black Pepper — Generous amounts. Kosher salt is best because it’s easier to control.
For the Roast
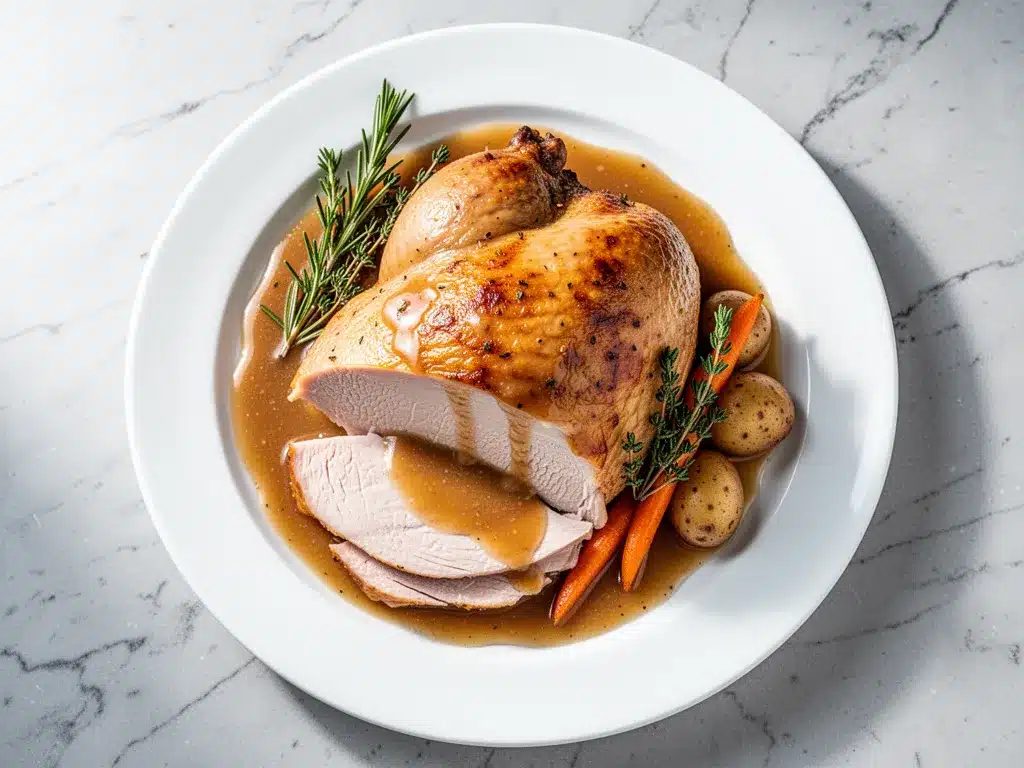
Whole Turkey (12-14 lbs / 5.5-6.5 kg) — Buy the biggest bird your oven can fit. A 12-14 lb bird is manageable for most families. If you have a big crowd, go up to 16 lbs. Avoid “pre-brined” or “self-basting” turkeys—they’re already too salty and have too much skin.
Chicken Broth (2 cups / 480ml) — For basting. Use low-sodium so you don’t control the salt. Vegetable broth works too if you’re vegetarian (though the turkey isn’t).
Olive Oil (2 tablespoons) — For the outside. Helps the skin crisp up.
Carrots (3 large, chopped) — For the roasting pan. They add flavor to the drippings and make a great side.
Celery (3 stalks, chopped) — Classic aromatics with the carrots.
Onion (1 large, chopped) — More onion for the pan. You’re going to love the smell.
Optional but Recommended
Garlic Cloves (1 whole head, halved crosswise) — Roast the whole head alongside the turkey. Once it’s cool enough to handle, squeeze the soft, sweet cloves out onto toast. It’s like butter.
Equipment Needed
You don’t need fancy gadgets. Just basic kitchen tools.
Large Roasting Pan — A 13×9 inch pan or larger. If your turkey is huge, you might need a disposable aluminum pan (trust me, cleanup on Thanksgiving day is the last thing you want). Make sure it has a rack. The rack lifts the bird off the bottom so air circulates.
Chef’s Knife — For chopping vegetables and trimming the turkey. A sharp knife is safer than a dull one.
Cutting Board — Use a large one. Turkey juices are messy.
Meat Thermometer — This is non-negotiable. I don’t care how experienced you are. A thermometer is the only way to know when it’s done. Instant-read is best. I use a Thermapen, but a $10 digital one works just as well.
Basting Brush — Silicone brushes are great. Or just use a spoon. I don’t judge.
Kitchen Twine — For trussing the legs. If you don’t have twine, you can skip it, but it helps the bird cook evenly.
Aluminum Foil — Lots of it. You’ll need to tent the bird halfway through.
How to Make It: Step-by-Step
Alright, let’s get cooking. This process is straightforward, but timing is key. Here’s exactly how I do it.
Step 1: Prep the Turkey (Day Before or Morning Of)
Take the turkey out of the fridge. Remove the neck and giblets from the cavity. Pat the turkey dry—inside and out—with paper towels. This is crucial. Wet skin doesn’t crisp; it steams. Dry skin = crispy skin. Let the turkey sit on the counter for 1 hour to take the chill off. Cold turkey goes into a hot oven and cooks unevenly.
Step 2: Make the Herb Butter
In a medium bowl, combine the softened butter, chopped sage, thyme, rosemary, minced garlic, 1 tablespoon salt, and 1 teaspoon black pepper. Mix it well with a spoon or your hands. It should smell amazing. If it doesn’t smell like a Thanksgiving dinner, add more herbs.
Step 3: Get Under the Skin
This is the most important step. Gently loosen the skin from the breast meat using your fingers. Start at the neck end and work your way down. Be careful not to tear the skin. Once you’ve created a pocket, take generous handfuls of the herb butter and push it under the skin, spreading it evenly over the breast meat. You want the butter to be in direct contact with the meat. Do the same for the legs if you can, but the breast is the priority.
Pro Tip: If you’re nervous about tearing the skin, use a small offset spatula or your fingertips to gently separate the skin from the meat. Work slowly.
Step 4: Season the Outside
Rub the outside of the turkey with olive oil. Then, season generously with salt and pepper. Don’t be shy with the salt. The skin needs it to crisp up. Rub the seasoning all over, including the legs and wings.
Step 5: Stuff the Cavity
Place the quartered onion and halved lemon inside the turkey cavity. These are for flavor, not for eating. They release steam and aroma as the turkey cooks. You can also toss in a few extra sprigs of thyme or sage if you like.
Step 6: Truss the Legs (Optional)
Use kitchen twine to tie the legs together. This keeps the bird compact and helps it cook evenly. If you don’t have twine, you can cross the legs and secure them with a rubber band (make sure it’s heat-safe) or just leave them loose. It’s not a big deal.
Step 7: The Roast
Preheat your oven to 425°F (220°C). Place the chopped carrots, celery, and onion in the bottom of your roasting pan. Place the turkey on the rack, breast-side up. Roast for 20 minutes at 425°F. This high heat helps brown the skin.
After 20 minutes, reduce the oven temperature to 350°F (175°C). Continue roasting. Baste the turkey with pan juices every 30 minutes. This isn’t strictly necessary for juiciness (the under-skin butter does that), but it helps the skin brown evenly.
Step 8: The Tent
After about 1.5 hours, check the color of the skin. If it’s getting too dark, loosely tent the breast with aluminum foil. This prevents burning while the legs finish cooking.
Step 9: Check for Doneness
Insert your meat thermometer into the thickest part of the breast, avoiding the bone. It should read 160°F (71°C). The thigh should read 175°F (79°C). Remember, the temperature will rise 5-10 degrees while resting, so pull it when it hits 160°F in the breast.
Step 10: Rest
This is the hardest part. Remove the turkey from the oven and transfer it to a cutting board or platter. Tent it loosely with foil and let it rest for at least 30 minutes. Do not skip this. If you cut into it immediately, all the juices will run out, and you’ll have dry meat. Resting allows the juices to redistribute.
Expert Tips & Tricks
Here’s everything I’ve learned from roasting turkeys for over a decade. These tips will save you from my mistakes.
Don’t Overstuff the Cavity — The cavity is for aromatics, not stuffing. Stuffing inside the bird slows down cooking and can lead to bacterial growth. Cook your stuffing in a separate dish. It cooks better and stays crispy.
Use a Thermometer — I cannot stress this enough. Visual cues are unreliable. A thermometer is your best friend. If you don’t have one, buy one. It’s worth it.
Save the Drippings — Don’t throw away the liquid in the pan. Strain it and use it to make gravy. It’s liquid gold. If you want to make a quick gravy, just whisk flour into the hot drippings and add broth.
Let It Rest — I know you want to carve it. I know your guests are hungry. But wait 30 minutes. The meat will be so much juicier. Use this time to make gravy or reheat sides.
Leftover Storage — Store carved turkey in airtight containers with some gravy or broth to keep it moist. It will last in the fridge for 3-4 days. Freeze for up to 3 months.
Variations & Substitutions
Once you’ve mastered the basic herb butter roast, here are some ways to mix it up.
Lemon-Herb — Add more lemon zest to the butter and use lemon halves in the cavity. Bright and fresh.
Maple-Glazed — Brush the turkey with maple syrup mixed with soy sauce during the last 30 minutes of cooking. Sweet and savory.
Spicy — Add crushed red pepper flakes to the herb butter. Gives a nice kick.
Herb-Free — If you hate herbs, just use garlic butter and lemon. Still delicious.
Dietary Notes — This recipe is naturally gluten-free (if you skip the stuffing). It’s dairy-free if you substitute the butter with olive oil or coconut oil, though the flavor will be different.
Serving & Storage
How to Serve: Carve the turkey and serve with comforting sides like mashed potatoes, gravy, cranberry sauce, and roasted vegetables. Pair with a crisp white wine or a light beer.
Storage: Store leftovers in the fridge for up to 4 days. Reheat gently in the microwave with a splash of broth to keep it moist. Do not freeze the whole bird. Freeze carved meat in portions.
Nutrition Information
I’m not a nutritionist, but here’s the breakdown per serving (breast meat only, with skin):
| Nutrient | Amount |
|---|---|
| Calories | 350 |
| Protein | 35g |
| Carbs | 0g |
| Fat | 22g |
| Sodium | 250mg |
It’s a high-protein, low-carb main dish. Just be mindful of the sides—mashed potatoes and gravy add calories and carbs. But hey, it’s Thanksgiving. Enjoy it.
Final Thoughts
So that’s my go-to Canadian Thanksgiving herb butter roast turkey. It’s simple, it’s reliable, and it tastes incredible. I’ve used this method for years, and it never fails to impress. The herb butter under the skin is the secret weapon. It keeps the meat juicy and adds so much flavor.
If you make this, I’d love to hear how it turns out. Drop a comment below and let me know what you think. And if you have any questions, ask away. I’m here to help.
Happy Thanksgiving! May your table be full and your heart be warm.
Frequently Asked Questions
Q: Can I brine this turkey instead of using herb butter?
A: You can, but the herb butter method is simpler and less messy. If you brine, you’ll need to rinse and dry the turkey thoroughly before applying the butter. I prefer the butter method for its ease and flavor.
Q: How long does it take to roast a 12-14 lb turkey?
A: Generally, 13-15 minutes per pound at 350°F. So, about 2.5 to 3.5 hours. Always use a thermometer to check for doneness.
Q: Can I cook the turkey at a lower temperature?
A: Yes, you can cook it at 325°F, but it will take longer. The high heat at the beginning helps brown the skin, which is key for flavor and texture.
Q: What if my turkey is too big for my oven?
A: Consider cooking the breast and legs separately. Or use a roasting bag, which can help with moisture. But a 12-14 lb bird should fit in most standard ovens.
Q: Can I make the herb butter ahead of time?
A: Yes! Make it up to 3 days ahead and store it in the fridge. Let it soften before using.
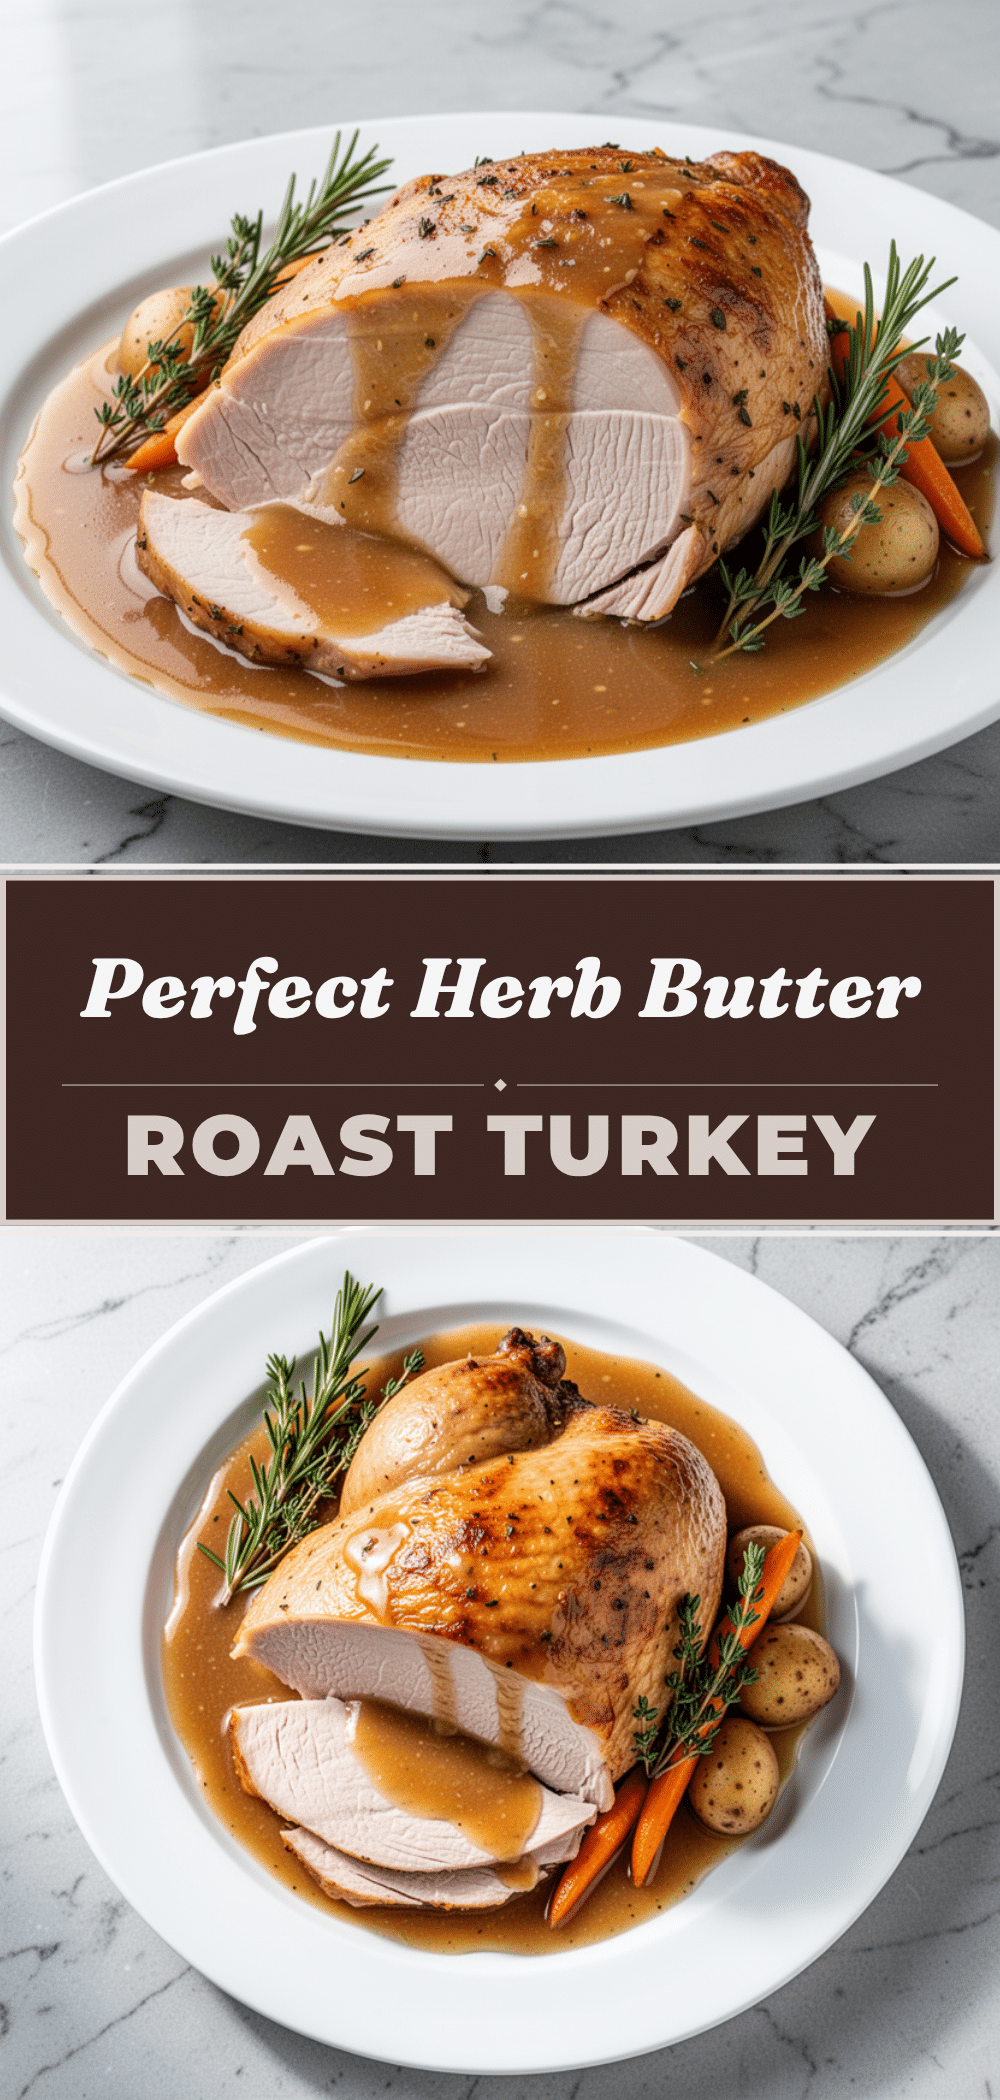
Pin This Recipe!
Canadian Thanksgiving Turkey: Easy Herb Butter Roast Recipe
- Total Time: 3.5 to 4.5 hours
- Yield: 12-14 servings 1x
Description
A stress-free, juicy roast turkey recipe featuring herb butter pushed under the skin for maximum flavor and moisture, without the hassle of brining.
Ingredients
- 1 cup (225g) unsalted butter, softened
- 1/2 cup fresh sage leaves, chopped
- 2 tablespoons fresh thyme leaves
- 1 tablespoon fresh rosemary, finely chopped
- 6 cloves garlic, minced
- 1 large yellow onion, quartered
- 1 large lemon, halved
- Kosher salt and black pepper
- 1 whole turkey (12–14 lbs / 5.5–6.5 kg)
- 2 cups chicken broth (low-sodium)
- 2 tablespoons olive oil
- 3 large carrots, chopped
- 3 stalks celery, chopped
- 1 large onion, chopped
- Kitchen twine (optional)
Instructions
- Remove turkey from fridge, take out neck and giblets, and pat dry inside and out with paper towels. Let sit on counter for 1 hour to take the chill off.
- In a medium bowl, mix softened butter, chopped sage, thyme, rosemary, minced garlic, 1 tablespoon salt, and 1 teaspoon black pepper.
- Gently loosen the skin from the breast meat using your fingers. Push generous handfuls of the herb butter under the skin, spreading it evenly over the breast meat. Repeat for legs if possible.
- Rub the outside of the turkey with olive oil and season generously with salt and pepper.
- Place quartered onion and halved lemon inside the turkey cavity.
- Truss the legs with kitchen twine (optional).
- Preheat oven to 425°F (220°C). Place chopped carrots, celery, and onion in the bottom of a roasting pan with a rack.
- Place turkey breast-side up on the rack. Roast at 425°F for 20 minutes.
- Reduce oven temperature to 350°F (175°C). Continue roasting, basting with pan juices every 30 minutes.
- After 1.5 hours, if skin is darkening too much, loosely tent the breast with aluminum foil.
- Roast until internal temperature reaches 160°F (71°C) in the breast and 175°F (79°C) in the thigh.
- Remove from oven and let rest, tented loosely with foil, for at least 30 minutes before carving.
Notes
Do not overstuff the cavity with stuffing; use aromatics only. Cook stuffing separately. Always use a meat thermometer for safety. Resting the turkey for 30 minutes is crucial for juicy meat. Leftovers can be stored in the fridge for 3-4 days or frozen for up to 3 months.
- Prep Time: 1 hour
- Cook Time: 2.5 to 3.5 hours
- Category: Main Course
- Cuisine: Canadian
Nutrition
- Serving Size: Breast meat with ski
- Calories: 350
- Sodium: 250
- Fat: 22
- Saturated Fat: 12
- Protein: 35
Keywords: Thanksgiving turkey, herb butter turkey, roast turkey, juicy turkey, Canadian Thanksgiving, easy turkey recipe, gluten-free turkey


