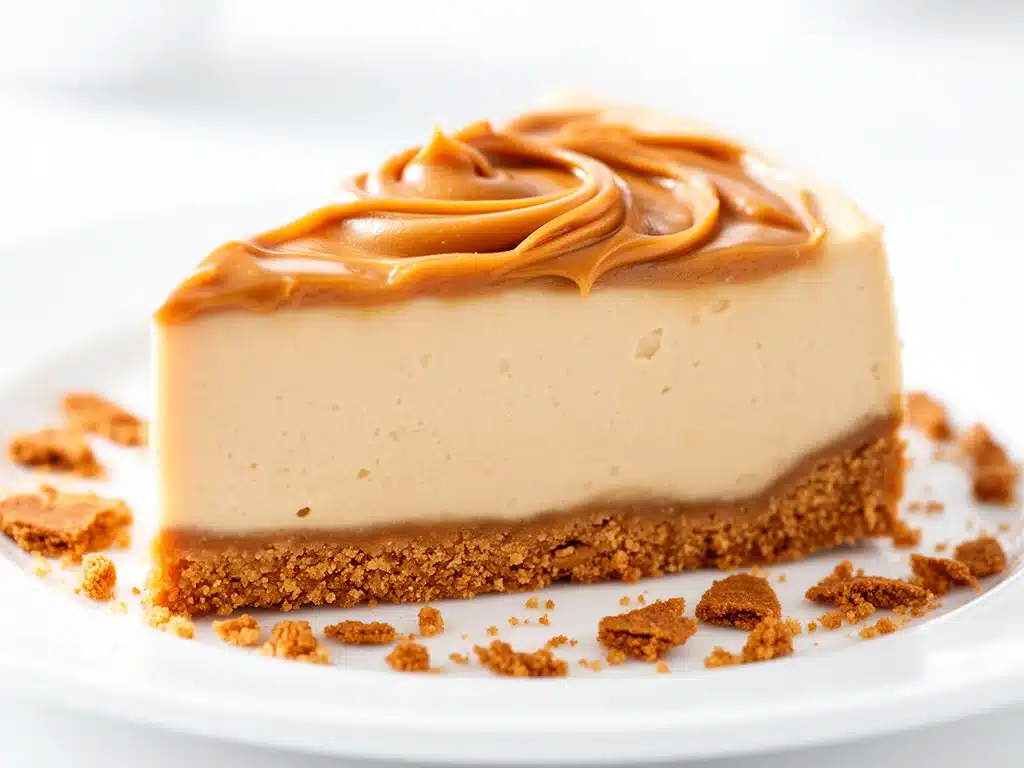
One evening last month, I found myself staring at a jar of Biscoff spread that had been sitting in my pantry longer than I care to admit. I’d swiped it on toast, stirred it into coffee, and even tried it on pancakes—but nothing quite satisfied my craving for a dessert that felt indulgent yet effortless. That’s when the idea hit me: why not turn this caramelized, spiced spread into a no-bake cheesecake? After a few experiments (and yes, a couple of taste-tests that led to full-on happy dances), I landed on a recipe that’s silky smooth, insanely easy, and downright addictive.
This no-bake Biscoff cheesecake quickly became my go-to dessert whenever I want something that feels fancy but doesn’t involve turning on the oven or wrestling with complicated steps. Plus, it’s got that dreamy texture that’s just the right balance of creamy and fluffy, with the perfect hint of spice from the Biscoff. I’ve shared slices with friends, family, and even surprised a few guests with this at last-minute get-togethers. The best part? It comes together in under 20 minutes, and then you just let it chill while you kick back.
So, if you’re a fan of easy desserts that taste like you spent hours in the kitchen (but secretly didn’t), this no-bake Biscoff cheesecake with silky smooth texture is about to become your new best friend.
Why You’ll Love This Recipe
Honestly, this recipe has changed the dessert game for me. There are a handful of reasons I keep coming back to it, and I’m betting you’ll love it just as much.
- Ridiculously Easy — No baking means less stress. I’ve whipped this up after long days when the last thing I wanted was to heat up the kitchen.
- Silky Smooth Texture — This cheesecake isn’t dense or heavy. Instead, it’s creamy and light, with a texture that melts in your mouth. I’ve made it for dessert parties, and people always ask how I got it so smooth.
- Only a Few Ingredients — Most are pantry staples or easy to find. I keep Biscoff spread stocked just so I can make this on a whim.
- Perfect for Last-Minute Entertaining — It sets up in the fridge, so you can make it ahead. I’ve brought this to potlucks and had compliments all around.
- Customizable — Whether you add a drizzle of caramel, some crushed Biscoff crumbs on top, or even a sprinkle of sea salt, it’s easy to make it your own.
This cheesecake is one of those rare desserts that feels special but doesn’t require a lot of fuss. I love pulling it out when I want to impress without the stress.
Ingredients You’ll Need
Here’s the scoop: this looks like a decadent dessert, but the ingredient list is delightfully simple. Most of these you probably already have, and I’ll share my tips for making each one shine.
- Biscoff Spread (1 cup / 250g) — The star of the show. Use the classic cookie butter spread. It gives that rich caramelized flavor and smooth texture. I always grab the crunchy version if I want extra texture on top, but smooth works best in the filling.
- Cream Cheese (16 oz / 450g, softened) — Full-fat cream cheese is a must for the silky texture. I let mine sit out for about 30 minutes to soften so it blends perfectly.
- Heavy Whipping Cream (1 cup / 240ml, cold) — This is what makes the cheesecake light and fluffy. Cold cream whips up better and gives you that airy texture.
- Powdered Sugar (½ cup / 60g) — Just enough sweetness without graininess. I always sift it to avoid lumps.
- Vanilla Extract (1 teaspoon) — A splash of vanilla rounds out the flavors beautifully. Fresh vanilla is worth the extra buck here.
- Graham Cracker Crust or Biscoff Cookie Crust (1 ½ cups / 150g, crushed) — For the base, you can use crushed graham crackers or blitz up extra Biscoff cookies for a double dose of that signature flavor. I mix in 6 tablespoons melted butter to hold it together.
Optional toppings:
- Extra Biscoff Crumbs — For sprinkling on top to add crunch.
- Caramel Sauce — Drizzle for an extra touch of indulgence.
- Sea Salt Flakes — A pinch on top balances the sweetness beautifully.
Quick note: I’ve tried swapping cream cheese for mascarpone, and while it’s tasty, the texture changes quite a bit. The classic combo here hits that silky smooth mark every time.
Equipment Needed
You really don’t need much for this recipe. I keep it simple.
- Mixing Bowls — One large for whipping cream, one medium for the cream cheese mixture. Glass or metal works fine.
- Electric Hand Mixer or Stand Mixer — Whipping the cream by hand is possible but takes forever. I’m all about shortcuts here.
- Spatula — For folding and scraping the sides.
- Springform Pan (9-inch / 23cm) — Makes it easy to remove the cheesecake without a mess. If you don’t have one, a regular pie dish works, but slicing can be trickier.
- Food Processor or Zip-top Bag & Rolling Pin — For crushing the cookies or graham crackers. I sometimes use a rolling pin and zip bag because it’s easier to clean.
Optional but handy:
- Offset Spatula — Helps smooth the top perfectly.
- Chilling Rack — For letting the cheesecake set evenly in the fridge.
How to Make It: Step-by-Step
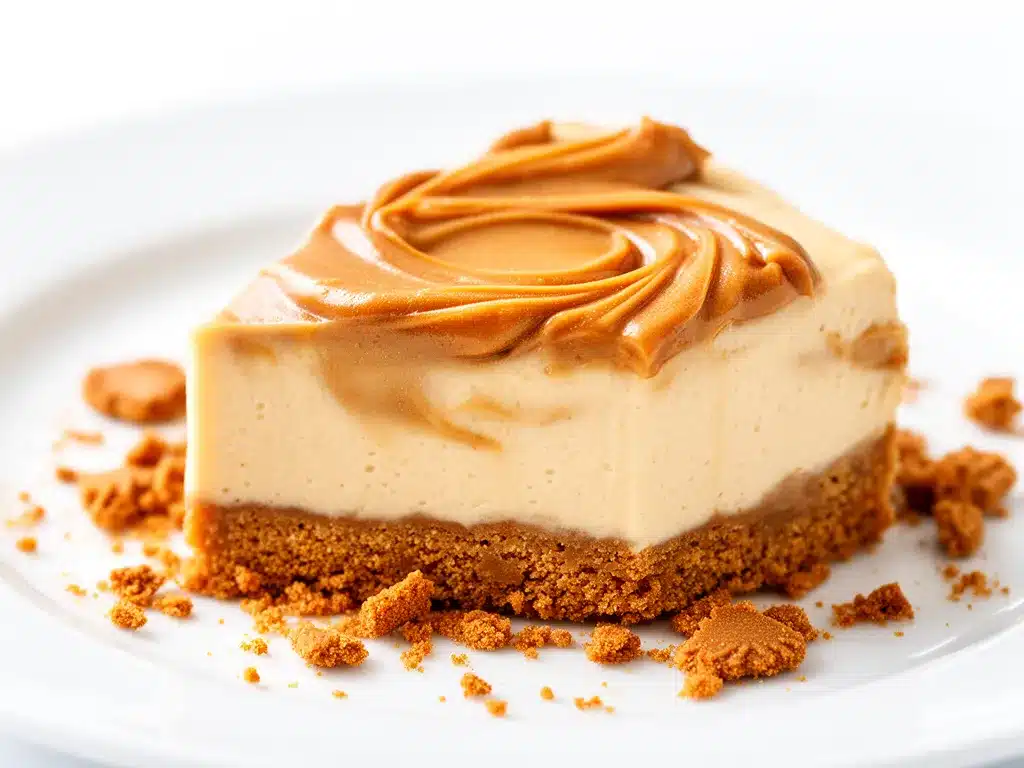
Alright, let’s get down to business. I’m walking you through exactly how to whip up this no-bake Biscoff cheesecake with that luscious silky smooth texture.
Step 1: Prepare the Crust (10 minutes)
First, crush your graham crackers or Biscoff cookies until they’re fine crumbs. I use a food processor, but a zip-top bag and rolling pin work just as well (pro tip: put the bag on a towel to keep it steady). Mix the crumbs with melted butter until everything is evenly coated and sticks together when pressed.
Press the mixture firmly into the bottom of your springform pan. I use the bottom of a glass to pack it down tightly. Pop it in the fridge while you make the filling—this helps it firm up and hold its shape later.
Step 2: Make the Cheesecake Filling (15 minutes)
In a large bowl, beat the softened cream cheese with an electric mixer until smooth and creamy. This step takes about 2-3 minutes to get rid of lumps—that’s key for silky texture.
Add the Biscoff spread and vanilla extract, then beat again until fully combined and the mixture is even in color. Your kitchen is going to start smelling amazing right about now.
In a separate bowl, whip the cold heavy cream with powdered sugar until soft peaks form. This means when you lift the whisk, the cream holds a gentle shape but still folds over.
Gently fold the whipped cream into the cream cheese mixture using a spatula. Take your time and fold carefully—this keeps the air in, which makes the cheesecake light and silky instead of dense.
Step 3: Assemble and Chill (5 minutes)
Pour the filling over the chilled crust and smooth the top with an offset spatula or the back of a spoon. Cover loosely with plastic wrap and pop it in the fridge for at least 4 hours, preferably overnight. This waiting is the hardest part, but the texture improves so much once it’s fully set.
Step 4: Serve and Enjoy
When ready, release the sides of the springform pan and slide the cheesecake onto a serving plate. Sprinkle with extra crushed Biscoff crumbs, drizzle caramel sauce, or add a pinch of sea salt flakes for a little something extra.
Slice with a sharp knife dipped in hot water for clean cuts. Then dig in and savor every silky bite.
Expert Tips & Tricks
- Softened cream cheese is everything. If it’s too cold, you’ll end up with lumps that ruin the smooth texture. Let it sit out at room temp for at least 30 minutes.
- Don’t overmix the whipped cream. Stop once you see soft peaks. Over-whipping turns it grainy and makes folding difficult.
- Use a good quality Biscoff spread. Some cheaper brands can be too oily or gritty, which affects the texture.
- Chill long enough. I’ve made this after just 2 hours, but it’s not as silky smooth or firm. Overnight is ideal.
- Crust options: For a crunchier base, mix some chopped nuts into the crust. For a gluten-free version, use gluten-free cookies or graham crackers.
- Feel free to add a splash of lemon juice. A teaspoon brightens the richness without making it tangy.
One last thing—if you want to impress your guests even more without extra work, try pairing this cheesecake with a batch of my soft honey garlic pretzel bites. The combo is unexpectedly perfect.
Variations & Substitutions
Once you’ve nailed the basic no-bake Biscoff cheesecake, there’s plenty of ways to customize it.
- Chocolate Biscoff — Swirl in melted dark chocolate into the filling for a marbled effect.
- Fruit Topping — Fresh berries or sliced bananas go surprisingly well with the caramelized flavor.
- Nutty Twist — Add chopped toasted pecans or walnuts to the crust or sprinkle on top.
- Vegan Version — Use vegan cream cheese and coconut cream. I haven’t mastered the exact silky texture, but it’s still delicious.
- Mini Cheesecakes — Make individual portions in mason jars or silicone molds—great for parties.
- Spiced Up — Add a pinch of cinnamon or nutmeg to the filling to amplify that Biscoff spice vibe.
For a fun twist on easy dinners, I sometimes pair this dessert after serving something quick like the crunchy ranch chicken wraps. It’s a combo that hits all the right notes for busy weeknights.
Serving & Storage
Serving Suggestions: I love serving this cheesecake slightly chilled but not too cold—let it sit at room temperature for 10-15 minutes before slicing. It makes the texture even silkier and the flavors pop. If you want to get fancy, a dollop of whipped cream or a few fresh raspberries on top make it look stunning.
Storage: Store leftovers in an airtight container or cover the springform pan with plastic wrap and keep in the fridge for up to 4 days. The texture remains silky but the crust may soften a bit (still delicious, just less crunchy).
Reheating: This cheesecake is best served cold, so no reheating needed. If it’s been in the fridge too long and feels too firm, let it sit out for 15 minutes before serving.
Freezing: I don’t recommend freezing this cheesecake—it can affect the texture and make the filling grainy. If you want to prep ahead, make the crust and filling separately, then assemble before serving.
Nutrition Information
I’m not a nutritionist, but if you’re curious, here’s the approximate breakdown per serving (based on 12 servings):
| Calories | 320 |
|---|---|
| Protein | 5g |
| Carbohydrates | 25g |
| Fiber | 1g |
| Sugar | 18g |
| Fat | 22g |
| Saturated Fat | 13g |
| Cholesterol | 65mg |
| Sodium | 180mg |
| Calcium | 100mg |
This dessert is rich thanks to the cream cheese and heavy cream, so I usually enjoy smaller portions to savor the flavor without overdoing it. Adding fresh fruit on the side helps balance the indulgence.
Final Thoughts
So there you have it—my favorite no-bake Biscoff cheesecake recipe with that irresistibly silky smooth texture. I know I’ve probably gone on about it a bit (okay, a lot), but when a dessert hits all the right notes so effortlessly, it deserves the praise. This cheesecake has saved me on more than one last-minute dessert emergency and has become a staple for celebrations and casual treats alike.
Give it a shot, make it yours, and don’t be shy about tweaking the toppings or crust to suit your vibe. If you’re looking for other quick and tasty recipes to pair it with, my thermos mac and cheese is a family favorite that’s just as easy to pull together.
If you try this recipe, please drop a comment below and tell me how it turned out! I love hearing your variations, questions, or even what didn’t work—trust me, I’ve had my share of kitchen mishaps. Happy no-bake cheesecake adventures, and may your kitchen smell as heavenly as mine does right now.
Frequently Asked Questions
Q: Can I use light cream or half-and-half instead of heavy cream?
A: You can, but the filling won’t be as fluffy or stable. Heavy cream whips up best and gives that signature silky smooth texture. If you only have half-and-half, you can try adding a tiny bit of gelatin, but it’s more complicated. For the easiest success, stick with heavy cream.
Q: Why did my cheesecake filling turn out grainy?
A: Usually this happens if the cream cheese wasn’t fully softened or if the mixture was over-beaten after adding the whipped cream. Make sure your cream cheese is at room temperature and fold the whipped cream in gently to keep things smooth and light.
Q: Can I make this without a springform pan?
A: Absolutely. A regular pie dish or cake pan works fine, but slicing might be messier. You can also make individual jars or cups for easy portioning and serving.
Q: How long does this cheesecake keep in the fridge?
A: Up to 4 days in an airtight container. The texture stays great, but the crust may soften a bit over time.
Q: Can I freeze this cheesecake?
A: I don’t recommend freezing because the cream cheese filling can separate and become grainy when thawed. It’s best to make it fresh or store it in the fridge for a few days.
Q: Can I substitute mascarpone or ricotta for cream cheese?
A: You can try mascarpone, which is richer and softer, but it changes the texture quite a bit. Ricotta is too grainy and won’t give you that silky smooth finish. Cream cheese is the best choice here.
Q: How do I stop my crust from getting soggy?
A: Press the crust firmly and chill it well before adding the filling. You can also brush the crust with a thin layer of melted chocolate or drizzle caramel before adding the filling to create a moisture barrier.
Pin This Recipe!
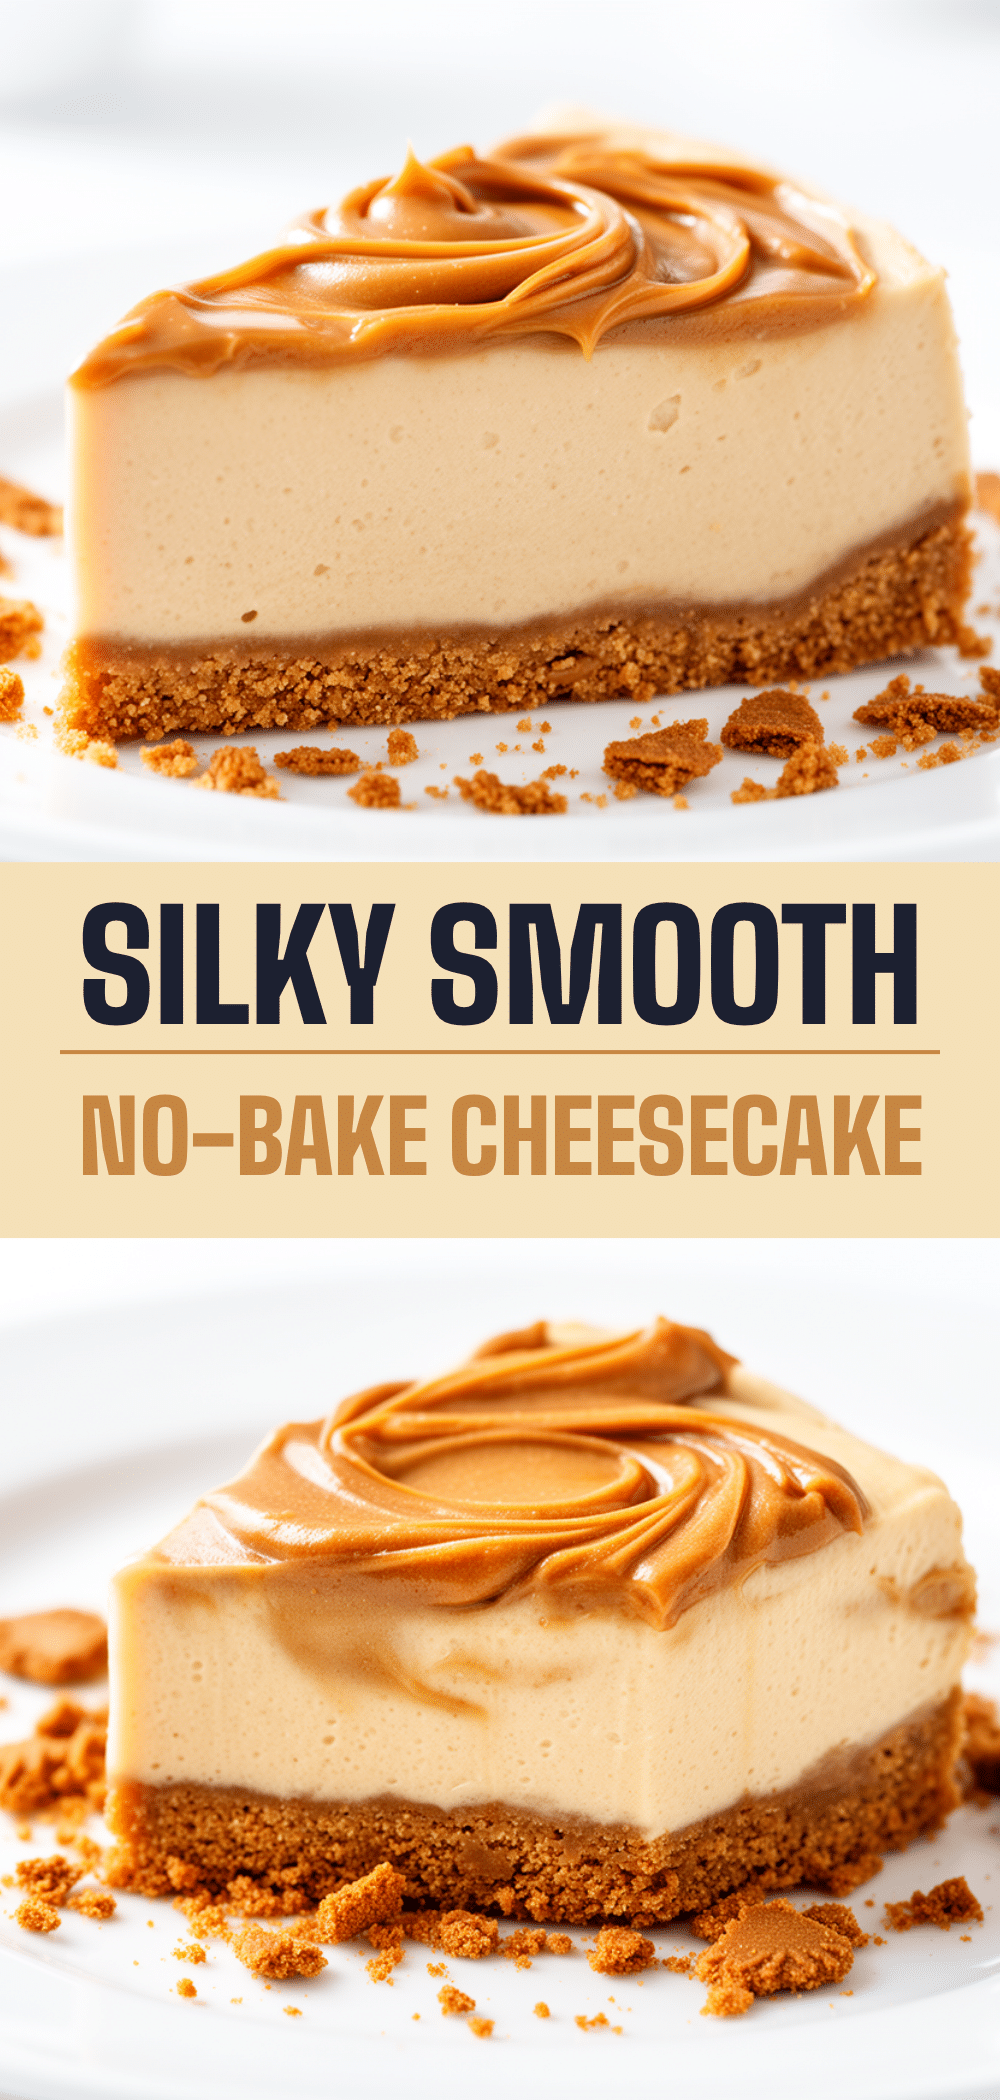
No-Bake Biscoff Cheesecake
- Total Time: 4 hours 20 minutes
- Yield: 12 servings 1x
Description
A silky smooth, easy no-bake cheesecake featuring caramelized Biscoff spread with a creamy, fluffy texture and a crunchy cookie crust. Perfect for last-minute entertaining and customizable with various toppings.
Ingredients
- 1 cup (250g) Biscoff Spread (smooth for filling, crunchy optional for topping)
- 16 oz (450g) full-fat cream cheese, softened
- 1 cup (240ml) heavy whipping cream, cold
- ½ cup (60g) powdered sugar, sifted
- 1 teaspoon vanilla extract
- 1 ½ cups (150g) crushed graham crackers or Biscoff cookies
- 6 tablespoons melted butter
Instructions
- Crush graham crackers or Biscoff cookies into fine crumbs using a food processor or a zip-top bag and rolling pin.
- Mix the crumbs with melted butter until evenly coated and sticky.
- Press the mixture firmly into the bottom of a 9-inch springform pan and chill in the fridge to set.
- In a large bowl, beat softened cream cheese with an electric mixer until smooth and creamy (2-3 minutes).
- Add Biscoff spread and vanilla extract to the cream cheese and beat until fully combined.
- In a separate bowl, whip cold heavy cream with powdered sugar until soft peaks form.
- Gently fold the whipped cream into the cream cheese mixture to keep it light and airy.
- Pour the filling over the chilled crust and smooth the top with an offset spatula or spoon.
- Cover loosely with plastic wrap and refrigerate for at least 4 hours, preferably overnight, to set.
- When ready, release the springform pan sides and transfer the cheesecake to a serving plate.
- Optional: Sprinkle with extra crushed Biscoff crumbs, drizzle caramel sauce, or add a pinch of sea salt flakes.
- Slice with a sharp knife dipped in hot water for clean cuts and serve.
Notes
[‘Use full-fat cream cheese softened at room temperature for best texture.’, ‘Do not overmix whipped cream; stop at soft peaks to maintain lightness.’, ‘Chill cheesecake overnight for best silky smooth texture.’, ‘Press crust firmly and chill before adding filling to prevent sogginess.’, ‘For gluten-free, use gluten-free cookies or graham crackers.’, ‘Add a teaspoon of lemon juice to brighten the flavor if desired.’, ‘Avoid freezing as it can affect texture and cause graininess.’, ‘Serve slightly chilled but let sit 10-15 minutes at room temperature before slicing for best flavor and texture.’]
- Prep Time: 20 minutes
- Cook Time: 0 minutes
- Category: Dessert
- Cuisine: American
Nutrition
- Serving Size: 1 slice (1/12th of c
- Calories: 320
- Sugar: 18
- Sodium: 180
- Fat: 22
- Saturated Fat: 13
- Carbohydrates: 25
- Fiber: 1
- Protein: 5
Keywords: no-bake cheesecake, Biscoff cheesecake, easy dessert, silky smooth cheesecake, no oven dessert, creamy cheesecake, Biscoff spread dessert


