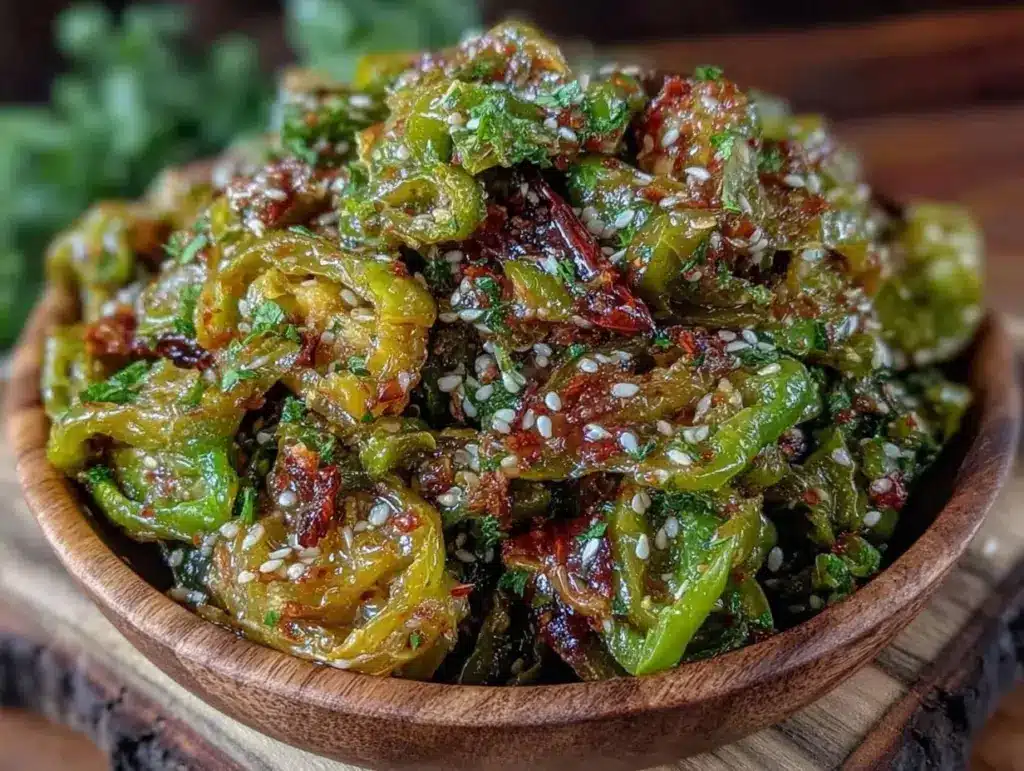
I still remember the first time I drove past a Hatch, New Mexico. It was August, the air was thick with humidity, and the roadside stands were piled so high with green chiles that they looked like emerald mountains. I bought a mesh bag of them on a whim, completely unaware that I was about to discover the single most exciting ingredient I would ever add to my pantry. That summer, I roasted a batch of Hatch green chile salsa that changed how I think about dinner forever. It wasn’t just spicy; it was smoky, sweet, complex, and deeply satisfying in a way that bottled salsa never was.
Fast forward to last Tuesday. I was exhausted. My inbox was full, the kids were hungry, and the last thing I wanted to do was stand over a hot stove for an hour. I looked at my fridge and saw a bag of frozen roasted green chiles (yes, you can do this with frozen ones, and I’ll tell you how) and a blender. I threw together what I thought would be a quick, mediocre dip. But thirty minutes later, my husband walked in, dipped a tortilla chip in, and immediately asked for the recipe. That’s when I knew I had struck gold. This roasted hatch green chile salsa has become our go-to weeknight taco twist—it takes minutes from start to finish, uses ingredients I usually have on hand, and tastes like something from a high-end Mexican restaurant.
I’ve tested this salsa at least a dozen times since that Tuesday, tweaking the ratios of lime to garlic until it was perfect. It’s the kind of recipe that feels like a cheat code for boring dinners. If you’re tired of the same old jarred stuff, this is your sign to branch out. Your taste buds will thank you for branching out into this smoky, vibrant world.
Why You’ll Love This Recipe
There are about ten reasons I keep making this salsa, but here are the big ones that keep it in our weekly rotation.
Stupid Simple — Seriously, if you can dump ingredients into a blender, you can make this. I’ve walked my teenage son through it over FaceTime while I was on vacation. There’s no chopping, no sautéing, no waiting for dough to rise. Just blend and serve.
Lightning Fast — 5 minutes from start to finish, and only 2 of those are active. I make this on weeknights when I get home at 7pm and don’t want to think about cooking. The rest is just blending.
Pantry-Friendly — You probably have 80% of these ingredients already. I keep a bag of frozen green chiles in the freezer specifically so I can make this on a whim. Canned tomatoes, garlic, lime, onion—basic stuff.
Crowd-Pleaser — I’ve served this to my vegetarian sister, my gluten-free neighbor, and my I-only-eat-chicken dad (with modifications). Everyone loved it. It’s mild enough for kids but flavorful enough for adults who want a kick.
Makes Amazing Leftovers — Actually tastes better the next day. The flavors meld together in the fridge. I deliberately make extra for lunch throughout the week, and it’s surprisingly good with scrambled eggs.
Budget-Smart — Feeds 4-6 people for under $10. That’s less than one meal at a fast-food place, and it tastes way better. Plus, using frozen chiles is often cheaper than buying fresh in the off-season.
This is my go-to when I need dinner to just work. No complicated techniques, no weird ingredients, just reliable, delicious food that makes everyone happy.
Ingredients You’ll Need
Here’s the best part: you probably have most of this already. I’m particular about three ingredients here, and I’ll tell you exactly why.
Frozen Hatch Green Chiles (20-24 oz / 570g) — This is the star. You can use fresh roasted chiles if it’s August and you’re near a roaster, but frozen is easier year-round. Look for bags labeled “Hatch Green Chiles” or “New Mexico Green Chiles.” The freezing process actually breaks down the skins, making them easier to blend. I always keep a bag in the freezer. If you can’t find Hatch, Anaheim or Poblano peppers work as substitutes, though the flavor will be slightly less sweet.
Canned Diced Tomatoes (14.5 oz / 410g) — Use a good brand like Muir Glen or Hunt’s. Do not drain them. The juice from the can adds body and acidity to the salsa. If you want a smoother salsa, you can use fire-roasted tomatoes, but diced adds nice texture. I’ve tried using fresh tomatoes, but the consistency is never quite right for a quick weeknight salsa.
Yellow Onion (1 medium, roughly chopped / about 200g) — Sweet onions work too, but yellow gives better depth. White onions are too sharp for this. I just chop it into big chunks and toss it in. No need to dice it finely since the blender will do the work.
Garlic (4 cloves, peeled / about 2 tablespoons) — Yes, four cloves. Don’t skimp. Fresh only—no jarred garlic in this recipe. The raw garlic bite balances the sweetness of the chiles. If you’re sensitive to raw garlic, you can roast the cloves first, but the fresh punch is what makes this salsa pop.
Lime Juice (2 tablespoons / 30ml) — Freshly squeezed. Bottled lime juice tastes metallic and dull. Squeeze two limes and measure it out. It’s the acid that wakes up all the other flavors. If you’re in a pinch, you can use white vinegar, but lime is non-negotiable for the best flavor.
Cumin (1 teaspoon / 2g) — Ground cumin adds that earthy, warm backbone that makes it taste like a taco. Don’t skip it. It’s the secret ingredient that makes people ask, “What’s in this?”
Cilantro (½ cup, packed / 15g) — Fresh cilantro leaves and tender stems. If you hate cilantro because of the soap gene, you can substitute with fresh parsley, but it won’t be the same. I use the stems too—they have great flavor. Just chop them roughly before blending.
Salt (1 teaspoon / 6g) — Kosher salt is best. Start with less and taste as you go. The canned tomatoes and chiles may already have some salt, so be careful.
Optional Add-ins: Jalapeño (1 small, seeded) — If you want more heat, add a jalapeño. Black Beans (1 can, drained) — Makes it chunkier and more filling. Avocado (1, diced) — Stir this in after blending for a creamy texture.
Equipment Needed
You don’t need fancy equipment for this. Here’s what I actually use.
High-Speed Blender — I use my Vitamix, but any good blender works. A food processor is also fine, though it might leave things a bit chunkier. If you don’t have a blender, you can use an immersion blender, but it takes longer and you’ll need a deep container.
Measuring Cups and Spoons — Pretty standard stuff. Dollar store versions work fine.
Knife and Cutting Board — For chopping the onion and cilantro. Dull knives make you cry more—learned this the hard way.
Large Spoon — For stirring and tasting.
Airtight Container — For storing leftovers. Glass is best, but plastic works too.
Optional but nice: Microplane — If you want to zest the lime for extra aroma. Pestle and Mortar — For crushing the cumin if you have whole seeds.
How to Make It: Step-by-Step
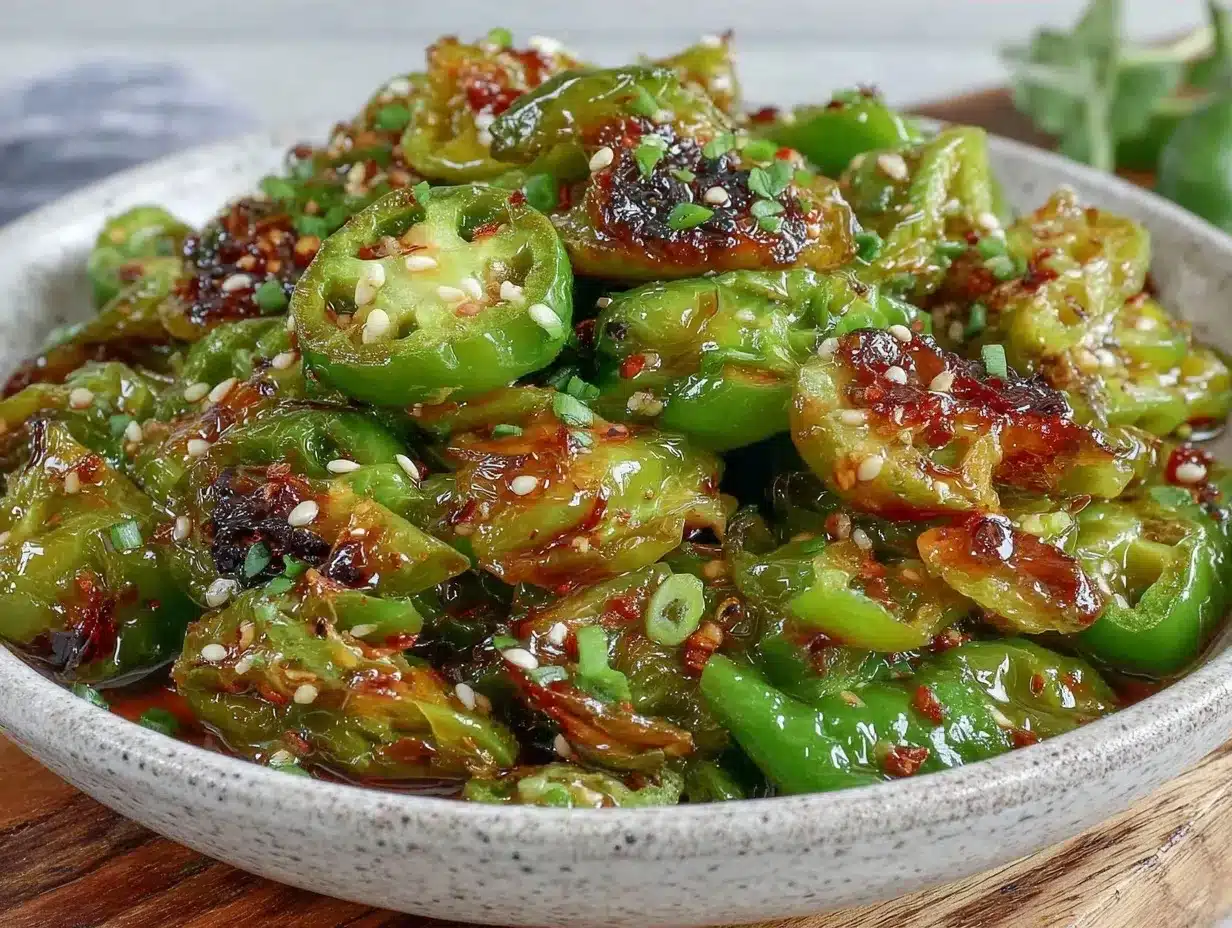
Alright, let’s make this! I’m walking you through exactly how I do it, including the little tricks I’ve picked up.
Step 1: Prep Your Ingredients (2 minutes)
Before you start blending, chop your onion into large chunks. Peel your garlic cloves. If you’re using fresh chiles, roast and peel them first (see tips below). If you’re using frozen, just let them thaw slightly so they go into the blender easier. Chop the cilantro roughly. It doesn’t need to be perfect since the blender will handle it.
Step 2: Blend the Base (1 minute)
Add the thawed green chiles, canned tomatoes (with their juice), chopped onion, garlic cloves, and cumin to your blender. Start on low speed and gradually increase to high. Blend for about 30-45 seconds until the mixture is smooth but still has some texture. Don’t over-blend into a soup; you want a salsa consistency, not a smoothie.
Step 3: Add the Fresh Elements (30 seconds)
Stop the blender. Add the lime juice and salt. Blend again for just 10-15 seconds to combine. This ensures the fresh lime and cilantro don’t get cooked or lose their brightness. If you’re adding cilantro, add it now and pulse a few times to incorporate it without turning it into green sludge.
Step 4: Taste and Adjust (1 minute)
Taste the salsa. This is the most important step. Does it need more salt? More lime? More heat? Add incrementally. If it’s too thick, add a splash of water or more tomato juice. If it’s too thin, let it sit for a few minutes; the chiles will absorb some liquid. The flavor should be bright, smoky, and balanced.
Step 5: Serve or Store
Serve immediately with tortilla chips, or let it sit in the fridge for an hour to let the flavors meld. This salsa is incredible with cozy fall turkey chili as a topping, or with creamy pumpkin alfredo pasta for a fusion twist I didn’t expect but loved.
Expert Tips & Tricks
Here’s everything I’ve learned from making this dozens of times. These tips will save you from my mistakes.
Thaw the Chiles
If you use frozen green chiles, let them thaw in the fridge overnight or run them under warm water for a few minutes. Cold chiles can dull your blender motor and make blending uneven. I forgot this once and ended up with chunks of ice in my salsa. Not ideal.
Don’t Skip the Cumin
It sounds basic, but cumin is what gives this salsa its “taco” flavor. Without it, it’s just green tomato salsa. A little cumin goes a long way. I toast the cumin in a dry pan for 30 seconds before adding it for extra depth.
Balance the Acid
Lime juice is key. If your salsa tastes flat, it probably needs more acid. Add lime juice one teaspoon at a time until it “pops.” You’ll know it’s right when the flavors stand out instead of blending together.
Roasting Fresh Chiles
If you can find fresh Hatch chiles, roast them under the broiler or on a grill until the skins are charred and blistered. Put them in a bowl covered with plastic wrap for 10 minutes, then peel the skins off. This adds a smoky flavor that frozen chiles can’t quite replicate. It’s worth the extra effort if you have the time.
Storage Life
This salsa keeps well in the fridge for up to 5 days. The flavor actually improves after day 2. Don’t freeze it; the texture will change and become watery when thawed. It’s best fresh.
Variations & Substitutions
Once you’ve nailed the basic version, here’s how you can mix it up. I’ve tried all of these.
Red Chile Salsa
Swap the green chiles for fire-roasted red peppers or roasted red chiles. Add a teaspoon of smoked paprika. It’s sweeter and milder, great for kids.
Spicy Version
Add a jalapeño or serrano pepper to the blender. Remove the seeds if you want less heat. I add a whole jalapeño if I’m having a spicy night.
Vegan Option
This recipe is naturally vegan, but if you want to add richness, stir in a tablespoon of olive oil after blending. It adds a silky texture.
Chunky Style
For a chunkier salsa, blend only half the mixture and stir in the rest by hand. Or, dice the chiles and onions instead of blending. I like a mix of both.
Herb-Forward
Double the cilantro or add fresh mint. Mint adds a surprising freshness that pairs well with the heat. It’s a little unexpected but delicious.
Serving & Storage
How to Serve:
I usually serve this straight from the blender in a glass bowl with a side of tortilla chips. It’s rustic and easy. But here are other ways I’ve enjoyed it:
Side Dishes:
– Tacos with autumn maple bourbon salmon (yes, salmon tacos!)
– Burrito bowls with rice and beans
– Nachos with cheese and jalapeños
– Grilled chicken or steak
Storage Instructions:
Store in an airtight container in the fridge for up to 5 days. The salsa will darken slightly as it sits, which is normal. Stir before serving.
Reheating:
This salsa is best served cold or at room temperature. No reheating needed.
Nutrition Information
I’m not a nutritionist, but here’s the breakdown if you’re tracking.
Per Serving (based on 8 servings):
- Calories: 45
- Protein: 1g
- Carbs: 8g
- Fiber: 2g
- Sugar: 3g
- Fat: 1g
- Sodium: 280mg
What’s Good: Low calorie, high in vitamins from the chiles and tomatoes. Good source of fiber.
What to Know: Sodium can vary based on the canned tomatoes. Use low-sodium tomatoes to reduce sodium content.
My Take: Look, this is a vegetable-based salsa. It’s not a diet food, but it’s light and refreshing. When I want to make it richer, I add avocado or cheese. But usually? I just eat a reasonable portion and enjoy it.
Final Thoughts
So that’s my roasted hatch green chile salsa! I’ve probably talked your ear off at this point, but when you make a recipe this often, you have a lot to say about it.
This has saved weeknight dinners more times than I can count. It’s my answer to ‘what’s for dinner’ when I’m tired, don’t want takeout, and still want something that tastes really good. My kids are happy, my husband’s happy, and I’m happy because I’m not stressed about cooking.
Make it yours! Try different add-ins, swap in your favorite vegetables, adjust the garlic (though more is always better in my opinion). The best recipes are the ones you adapt to your family’s tastes.
If you make this, drop a comment and let me know what you think! I love hearing how recipes turn out in your kitchen. And if something doesn’t work, tell me that too—I’m here to help troubleshoot.
Happy cooking! And I hope your kitchen smells half as good as mine does right now.
Frequently Asked Questions
Can I use fresh chiles instead of frozen?
Yes! If you can find fresh Hatch chiles, roast them under the broiler until charred, then peel the skins. Let them cool before blending. Fresh chiles have a brighter, more complex flavor, but frozen is more convenient and works great year-round.
Why did my salsa turn out watery?
Canned tomatoes release a lot of liquid. If it’s too thin, let it sit in the fridge for a few hours; the chiles will absorb some of the moisture. You can also blend it longer to break down the tomatoes more, or add a thickener like a tablespoon of tomato paste.
Can I make this ahead for a dinner party?
Absolutely. Make it 1-2 days ahead and store in the fridge. The flavors will meld and improve. Bring it to room temperature before serving for the best taste.
Is this salsa spicy?
Hatch green chiles are mild to medium heat. This recipe is mild enough for most people, including kids. If you want more heat, add a jalapeño or a pinch of cayenne. You can always add more heat, but you can’t take it away.
Can I freeze this salsa?
I don’t recommend it. The texture will change and become watery when thawed. It’s best enjoyed fresh. If you have leftovers, eat them within 5 days.
Can I use a food processor instead of a blender?
Yes, but it will be chunkier. Pulse in short bursts to control the texture. A blender gives a smoother, more uniform salsa, but a food processor works fine if you like a rustic feel.
What type of canned tomatoes should I use?
Diced tomatoes are best for texture. Fire-roasted tomatoes add a smoky flavor that pairs well with the chiles. Avoid tomato sauce or crushed tomatoes unless you want a smoother consistency.
Pin This Recipe!
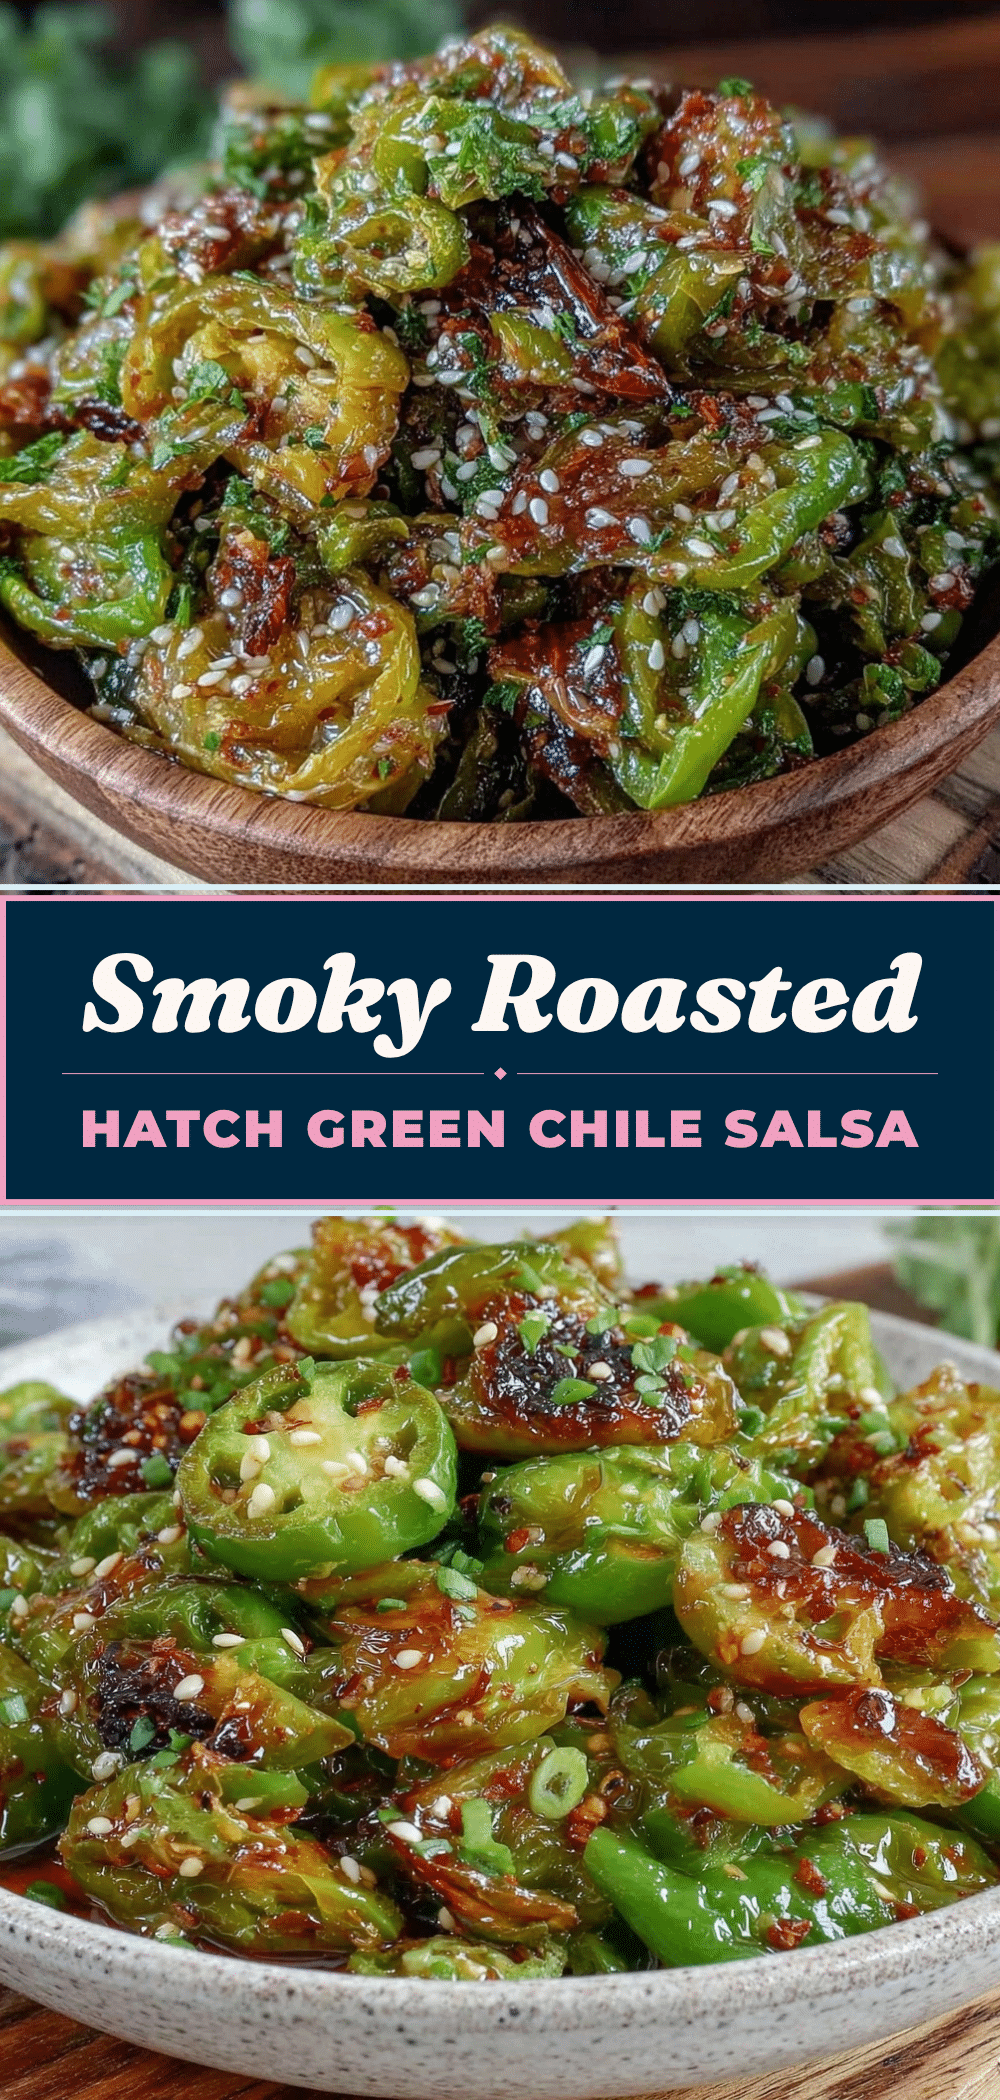
Roasted Hatch Green Chile Salsa: 5-Min Weeknight Taco Twist
- Total Time: 5 minutes
- Yield: 8 servings 1x
Description
A quick, smoky, and vibrant salsa made with frozen or fresh Hatch green chiles, canned tomatoes, and fresh herbs. It’s a pantry-friendly, crowd-pleasing recipe that takes only 5 minutes to prepare.
Ingredients
- 20–24 oz (570g) Frozen Hatch Green Chiles
- 14.5 oz (410g) Canned Diced Tomatoes (with juice)
- 1 medium Yellow Onion, roughly chopped
- 4 cloves Garlic, peeled
- 2 tablespoons Lime Juice (freshly squeezed)
- 1 teaspoon Ground Cumin
- ½ cup Fresh Cilantro, packed
- 1 teaspoon Kosher Salt
- Optional: 1 small Jalapeño, seeded
- Optional: 1 can Black Beans, drained
- Optional: 1 Avocado, diced
Instructions
- Prep ingredients: Chop onion into large chunks, peel garlic, and roughly chop cilantro. If using frozen chiles, let them thaw slightly.
- Blend the base: Add thawed green chiles, canned tomatoes (with juice), chopped onion, garlic, and cumin to a blender. Blend on low to high for 30-45 seconds until smooth but textured.
- Add fresh elements: Stop the blender, add lime juice and salt. Blend for 10-15 seconds to combine. If using cilantro, pulse briefly to incorporate.
- Taste and adjust: Taste the salsa and add more salt or lime juice if needed. If too thick, add water or tomato juice; if too thin, let sit for a few minutes.
- Serve or store: Serve immediately with tortilla chips or refrigerate for an hour to let flavors meld.
Notes
If using frozen chiles, thaw them in the fridge overnight or under warm water to protect the blender motor. For a smokier flavor, roast fresh chiles under a broiler and peel skins before blending. The salsa tastes better after sitting in the fridge for a day. Do not freeze this salsa as the texture will become watery.
- Prep Time: 5 minutes
- Cook Time: 0 minutes
- Category: Appetizer
- Cuisine: Mexican
Nutrition
- Serving Size: Approximately 1/8 of
- Calories: 45
- Sugar: 3
- Sodium: 280
- Fat: 1
- Carbohydrates: 8
- Fiber: 2
- Protein: 1
Keywords: Hatch green chile salsa, roasted green chile salsa, quick salsa, weeknight dinner, vegan salsa, gluten-free salsa, Mexican appetizer, blender salsa


