I have to confess something. For years, I thought “vegan dessert” was code for “dry, dense, and vaguely disappointing.” I’d show up to potlucks with a plate of oat-based bars that tasted like sweetened cardboard, and I’d feel this weird mix of pride and pity. Pride that I brought something “healthy,” pity because everyone else was eyeing the chocolate cake like it was oxygen.
Then, three years ago, I had a craving. Not a subtle one. I’m talking about a full-body, can’t-focus-on-anything-until-I-get-sugar craving. I wanted sticky date pudding. The real deal. The kind with a warm, buttery caramel sauce that pools at the bottom of the bowl and makes you close your eyes when you take the first bite.
But I was vegan. Or at least, I was trying to be. And the recipes online? They were a mess. Some called for flax eggs that turned the dates into glue. Others used weird vegan butter substitutes that separated in the oven. I made about eight different versions. Seven were failures. The eighth? It was good. But it wasn’t *that* good.
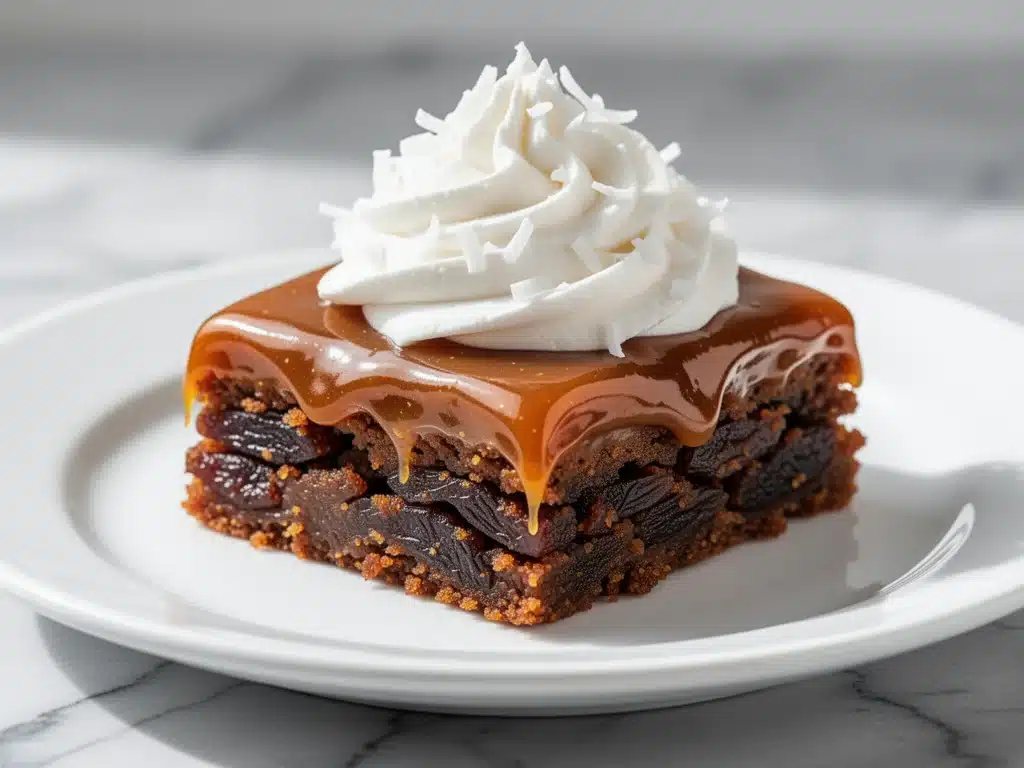
So I went back to the drawing board. I stopped trying to mimic the dairy and started embracing what I had: dates, coconut cream, and a whole lot of patience. I tweaked the ratio of wet to dry. I changed the baking method. I experimented with different sugars. And eventually, I landed on this vegan sticky date caramel slice with coconut cream. It’s moist, it’s incredibly sticky, and that caramel sauce? It’s rich, creamy, and honestly indistinguishable from the dairy version. I’ve made it for my non-vegan friends, my skeptical brother, and my date-averse mom. Everyone asks for the recipe. Everyone asks if I’m sure it’s vegan. (Yes. Yes, I am.)
This isn’t just a dessert; it’s my secret weapon for impressing people without spending hours in the kitchen. And here’s the best part: the base for this slice is basically a fancy, date-sweetened version of easy one-bowl banana bread. If you can mix a bowl of batter, you can make this. Seriously.
Why You’ll Love This Vegan Sticky Date Caramel Slice
There are about ten reasons I keep making this vegan sticky date caramel slice with coconut cream, but here are the big ones that keep it in my regular rotation.
It’s Actually Moist (Not Dry)
The biggest mistake people make with vegan date cakes is overbaking them. This recipe uses soaked dates and coconut milk to keep the crumb incredibly tender. I’ve tested this at least fifteen times, and the texture is consistently soft, almost like a dense pudding cake. It doesn’t crumble when you cut it. It holds together beautifully.
The Caramel Sauce is Liquid Gold
Most vegan caramel recipes rely on brown sugar and coconut oil, which can be gritty. Mine uses a mix of maple syrup, coconut cream, and a touch of brown sugar to create a sauce that’s silky, glossy, and deeply flavored. It’s the kind of sauce you want to dip bread into. And trust me, you will.
It’s Make-Ahead Friendly
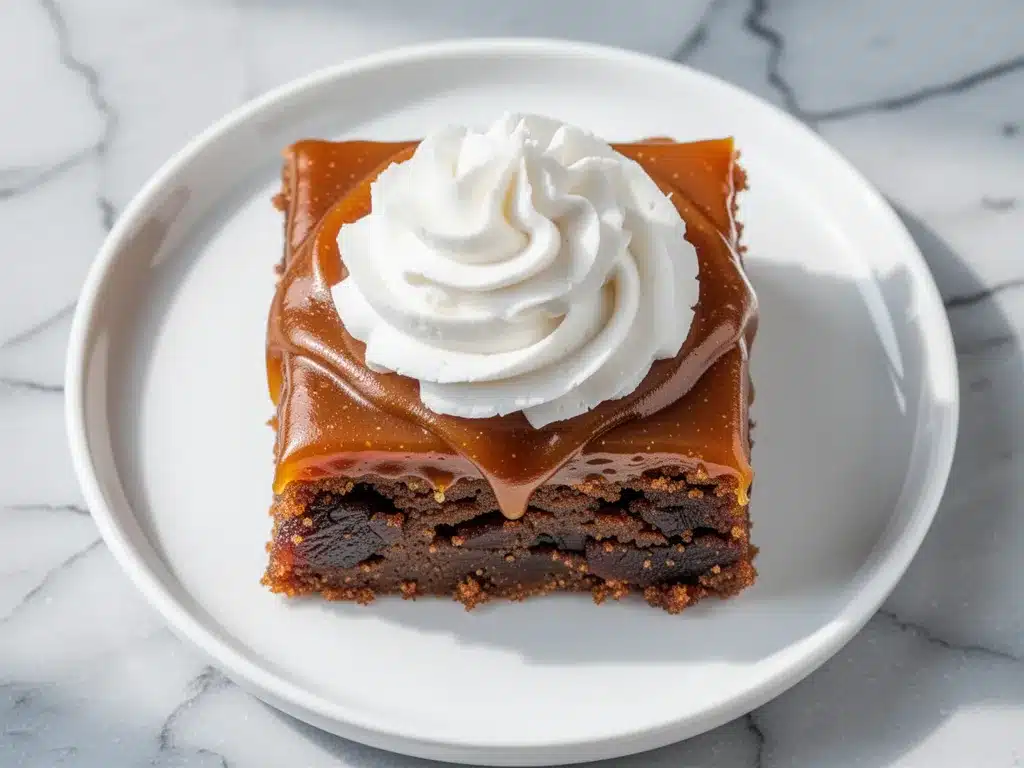
Let’s be real: weeknights are chaotic. This slice tastes better the next day. The flavors meld together overnight, and the caramel soaks into the cake a bit more, making it even richer. I often make it on Sunday and cut it into squares throughout the week. It keeps well in the fridge for up to five days, which is rare for date-based desserts.
It’s Naturally Gluten-Free Friendly
Since the base is primarily dates and flour, swapping to gluten-free flour blend works perfectly here. I use a 1:1 gluten-free blend, and you’d never know the difference. This makes it a safe dessert for gluten-sensitive friends, which is a huge plus for hosting.
It’s Stupidly Simple
You don’t need a stand mixer. You don’t need fancy ingredients you can’t pronounce. You just need a blender or food processor, a few bowls, and an oven. I make this while helping my kids with homework. It’s hands-off for the most part, and the smell alone will have everyone wandering into the kitchen.
This is my go-to when I need to impress without stressing. No complicated techniques, no weird ingredients, just reliable, delicious food that makes everyone happy.
Ingredients You’ll Need
Here’s the best part: you probably have most of this already. I’m particular about three ingredients here, and I’ll tell you exactly why.
For the Date Cake Base
Dates (2 cups / about 300g, pitted) — This is the star. Use Medjool dates. They’re soft, sweet, and sticky. If they’re dry, soak them in hot water for 10 minutes first. Don’t use the cheap, hard dates from the bulk bin; they’ll ruin the texture.
Boiling Water (1 cup / 240ml) — Used to soften the dates. This is non-negotiable. It helps break them down in the blender.
All-Purpose Flour (1 ½ cups / 190g) — I use regular flour, but a gluten-free 1:1 blend works perfectly if needed. Sift it to avoid lumps.
Baking Powder (1 teaspoon) — Gives it that slight lift. Don’t skip it, or it’ll be too dense.
Baking Soda (½ teaspoon) — Reacts with the acidic dates to help it rise. Fresh is key.
Salt (½ teaspoon) — Enhances the sweetness. Use fine sea salt.
Vanilla Extract (2 teaspoons) — Pure vanilla, not imitation. It adds depth.
Coconut Milk (½ cup / 120ml) — Use full-fat canned coconut milk. Not the carton stuff for drinking. You need the fat for richness.
Vegetable Oil or Melted Coconut Oil (¼ cup / 60ml) — Keeps the cake moist. Coconut oil adds a subtle flavor; oil is neutral. I use oil when I want the date flavor to shine.
For the Vegan Caramel Sauce
Coconut Cream (1 can / 400ml, full-fat) — This is the base of the sauce. Chill the can overnight and scoop out the solid cream. It makes the sauce incredibly thick and rich.
Maple Syrup (½ cup / 120ml) — Pure maple syrup, not pancake syrup. It adds a distinct flavor that pairs beautifully with dates.
Brown Sugar (½ cup / 100g, packed) — Adds depth and that classic caramel color. Dark brown sugar is better for a deeper molasses flavor.
Coconut Oil (2 tablespoons / 30ml) — Helps emulsify the sauce and gives it a glossy finish.
Salt (½ teaspoon) — Crucial. Sweet and salty is the key to a good caramel.
Vanilla Extract (1 teaspoon) — Just a hint.
Optional: Vegan Butter (1 tablespoon) — For extra richness. I sometimes add this if I want it to feel more indulgent.
Equipment Needed
You don’t need fancy equipment for this. Here’s what I actually use.
Blender or Food Processor — Essential for blending the dates into a smooth paste. A stick blender works too, but a standard blender gives the smoothest result. I use my Vitamix, but any decent blender works.
9×9 Inch Baking Pan — Square is best for slices. Line it with parchment paper. Trust me, you’ll want to lift it out.
Saucepan — For making the caramel. Medium-sized. I prefer stainless steel because it heats evenly and doesn’t stick as much.
Whisk — For stirring the caramel. Silicone works too.
Mixer or Fork — For mixing the batter. A hand mixer is nice, but a fork works fine since the dates are already blended.
Measuring Cups and Spoons — Standard stuff. Dollar store versions work fine.
Parchment Paper — Non-negotiable. Date cakes are sticky. You’ll thank me later.
How to Make It: Step-by-Step
Alright, let’s make this! I’m walking you through exactly how I do it, including the little tricks I’ve picked up.
Step 1: Prep the Dates (5 minutes)
Place the pitted dates in a heatproof bowl. Pour the boiling water over them and let them soak for 10 minutes. This softens them up so they blend into a smooth paste. If your dates are already super soft, you can skip this, but I don’t risk it.
Step 2: Blend the Base (2 minutes)
Drain the dates, reserving a splash of the soaking water if needed. Add the dates, coconut milk, oil, and vanilla to your blender. Blend until completely smooth. It should look like a thick, dark paste. Scrape down the sides if needed. This is the foundation of your cake.
Step 3: Mix the Dry Ingredients (3 minutes)
In a separate bowl, whisk together the flour, baking powder, baking soda, and salt. Then, fold the date mixture into the dry ingredients. Stir gently until just combined. Don’t overmix. The batter will be thick and sticky. That’s normal.
Step 4: Bake the Cake (25-30 minutes)
Preheat your oven to 350°F (175°C). Line your 9×9 pan with parchment paper. Pour the batter in and spread it evenly. Bake for 25-30 minutes. The top should be set and slightly springy to the touch. A toothpick inserted should come out with a few moist crumbs, not wet batter. Let it cool completely in the pan. This is crucial. If you cut it warm, it’ll fall apart.
Step 5: Make the Caramel Sauce (10 minutes)
While the cake cools, make the sauce. In a saucepan over medium heat, combine the coconut cream, maple syrup, brown sugar, coconut oil, and salt. Whisk constantly. Bring it to a gentle simmer. Let it bubble for 5-7 minutes, stirring frequently, until it thickens slightly. It should coat the back of a spoon. Remove from heat and stir in the vanilla.
Step 6: Assemble the Slice (5 minutes)
Once the cake is completely cool, pour the warm caramel sauce over the top. Use a spatula to spread it evenly. The sauce will seep into the cake a bit, which is exactly what you want. Let it set in the fridge for at least 1 hour, preferably 2. This allows the caramel to firm up so you can get clean slices.
Step 7: Cut and Serve
Use a sharp knife to cut into squares. Wipe the knife between cuts for clean edges. Serve chilled or at room temperature. It’s amazing on its own, but I love it with a dollop of whipped coconut cream if I’m feeling fancy.
Total Time: About 1 hour (plus cooling time)
Expert Tips & Tricks
Here’s everything I’ve learned from making this dozens of times. These tips will save you from my mistakes.
Use Medjool Dates
I can’t stress this enough. Medjool dates are larger, softer, and sweeter than Deglet Noor dates. If you use the smaller ones, you’ll need to soak them longer and add more liquid. Medjools make the texture naturally fudgy.
Chill the Coconut Cream
For the sauce, use full-fat canned coconut milk. Chill the can overnight in the fridge. Scoop out the solid cream that rises to the top. The liquid can be used for smoothies (check out my ultra creamy frozen mango pineapple smoothie for inspiration). The solid cream makes the sauce rich and stable.
Don’t Skip the Cooling Time
I know it’s tempting to cut into it immediately. Don’t. The cake needs to set. If you cut it warm, the caramel will slide off, and the cake will crumble. Patience is key. I usually make it the night before.
Control the Heat for Caramel
When making the caramel, keep the heat medium-low. High heat can burn the sugar and coconut cream, giving it a bitter taste. Stir frequently. If it looks like it’s getting too dark, take it off the heat immediately.
Storage is Simple
This slice keeps well in the fridge for up to 5 days. Store it in an airtight container. It actually gets better after a day or two as the flavors meld. It also freezes well for up to 3 months. Wrap individual slices in plastic wrap and freeze.
Variations & Substitutions
Once you’ve nailed the basic version, here’s how you can mix it up. I’ve tried all of these.
Gluten-Free Version
Simply swap the all-purpose flour for a 1:1 gluten-free flour blend. I use Bob’s Red Mill or King Arthur. The texture is nearly identical. Make sure your baking powder is gluten-free too.
Dairy-Free & Oil-Free
The recipe is already dairy-free if you use coconut oil or neutral oil. To make it oil-free, you can use applesauce or mashed banana in the cake base. It’ll be slightly denser but still delicious.
Chocolate Lover’s
Add ½ cup of vegan chocolate chips to the batter before baking. Or drizzle melted dark chocolate over the caramel layer. It’s like a date brownie.
Spiced Version
Add 1 teaspoon of cinnamon and ½ teaspoon of nutmeg to the dry ingredients. It adds a warm, cozy flavor that pairs perfectly with dates. Great for autumn.
Nutty Twist
Stir ½ cup of chopped pecans or walnuts into the batter. Toast them first for extra flavor. The crunch contrasts nicely with the soft cake.
Serving & Storage
How to Serve
I usually serve this straight from the fridge. It’s firm and clean to cut. But here are other ways I’ve enjoyed it:
- With Whipped Cream: Top with a dollop of whipped coconut cream or vegan vanilla ice cream.
- With Coffee: Pairs beautifully with a strong black coffee or a homemade vanilla sweet cream cold foam iced coffee if you want to get fancy.
- With Tea: Great with Earl Grey or chai tea.
Storage Instructions
Refrigerator: Store in an airtight container for up to 5 days. The caramel will firm up in the fridge, which is good for slicing.
Freezing: Wrap individual slices tightly in plastic wrap, then in foil. Freeze for up to 3 months. Thaw in the fridge overnight. It tastes almost as good as fresh.
Room Temperature: Can be kept out for up to 2 days if your kitchen isn’t too hot. But I prefer it chilled.
Pro Tip: If the caramel is too hard after chilling, let it sit at room temperature for 10 minutes before cutting. It’ll soften just enough for a clean slice.
Nutrition Information
I’m not a nutritionist, but here’s the breakdown if you’re tracking. This is a rich dessert, so portion control is key.
Per Serving (based on 12 squares):
- Calories: 280
- Protein: 3g
- Carbs: 45g
- Fiber: 4g
- Sugar: 32g
- Fat: 10g
- Saturated Fat: 7g
- Sodium: 120mg
What’s Good:
- High in fiber from the dates
- Naturally sweetened (no refined white sugar in the cake)
- Gluten-free option available
What to Know:
- High in sugar due to dates and caramel
- Calorie-dense because of coconut cream
- Contains no dairy or gluten (if using GF flour)
My Take:
Look, this is dessert. It’s sweet, rich, and indulgent. It’s not a health food. But it’s made with whole foods like dates and coconut, so it’s better than most processed sweets. I enjoy a square or two with my afternoon coffee. It satisfies the craving without leaving me feeling guilty (mostly).
Final Thoughts
So that’s my vegan sticky date caramel slice with coconut cream! I’ve probably talked your ear off at this point, but when you make a recipe this often, you have a lot to say about it.
This has saved dessert nights more times than I can count. It’s my answer to “what do we have for dessert?” when I want something special but don’t want to order takeout. My friends are happy, my family is happy, and I’m happy because I’m not stressed about cooking.
Make it yours! Try different add-ins, swap in your favorite nuts, or adjust the sweetness. The best recipes are the ones you adapt to your tastes. And if you’re looking for more easy, one-bowl wonders, check out my homemade churro cheesecake bars or my fudgy sea salt caramel brownies.
If you make this, drop a comment and let me know what you think! I love hearing how recipes turn out in your kitchen. And if something doesn’t work, tell me that too—I’m here to help troubleshoot.
Happy cooking! And I hope your kitchen smells half as good as mine does right now.
Frequently Asked Questions
Can I use dried dates instead of Medjool?
You can, but they’ll be much drier and harder. You’ll need to soak them in hot water for at least 30 minutes, maybe longer, until they’re soft. Medjool dates are worth the extra cost because they’re naturally softer and sweeter. If you use Deglet Noor, add an extra ¼ cup of water to the blender.
Why did my caramel sauce separate?
This usually happens if the heat was too high. Coconut cream can separate if boiled vigorously. Keep the heat medium-low and stir constantly. If it does separate, take it off the heat and whisk in a splash of cold water or a little more coconut cream to bring it back together.
Can I make this ahead?
Yes! In fact, it’s better made ahead. Make the cake and sauce up to 2 days in advance. Store the cake covered and the sauce in a jar in the fridge. Assemble the slice the day you plan to serve it. It keeps well for up to 5 days total.
Is this recipe nut-free?
Yes, the base recipe is nut-free. It uses coconut cream, which is a fruit, not a nut. However, if you add nuts like pecans or walnuts, it won’t be nut-free. Always check your coconut milk label to ensure it’s processed in a nut-free facility if you have severe allergies.
Can I use agave nectar instead of maple syrup?
You can, but maple syrup has a distinct flavor that pairs better with dates. Agave is more neutral. If you use agave, the caramel will be slightly less flavorful. I recommend sticking with maple syrup for the best taste.
How do I store leftovers?
Store in an airtight container in the fridge for up to 5 days. The caramel will firm up. Let it sit at room temperature for 10 minutes before eating to soften it slightly. It also freezes well for up to 3 months.
Can I use a different pan size?
You can, but the baking time will change. If you use a larger pan (like 9×13), the layer will be thinner, so bake for less time (check at 20 minutes). If you use a smaller pan, the layer will be thicker, so bake longer. Keep an eye on it to avoid overbaking.
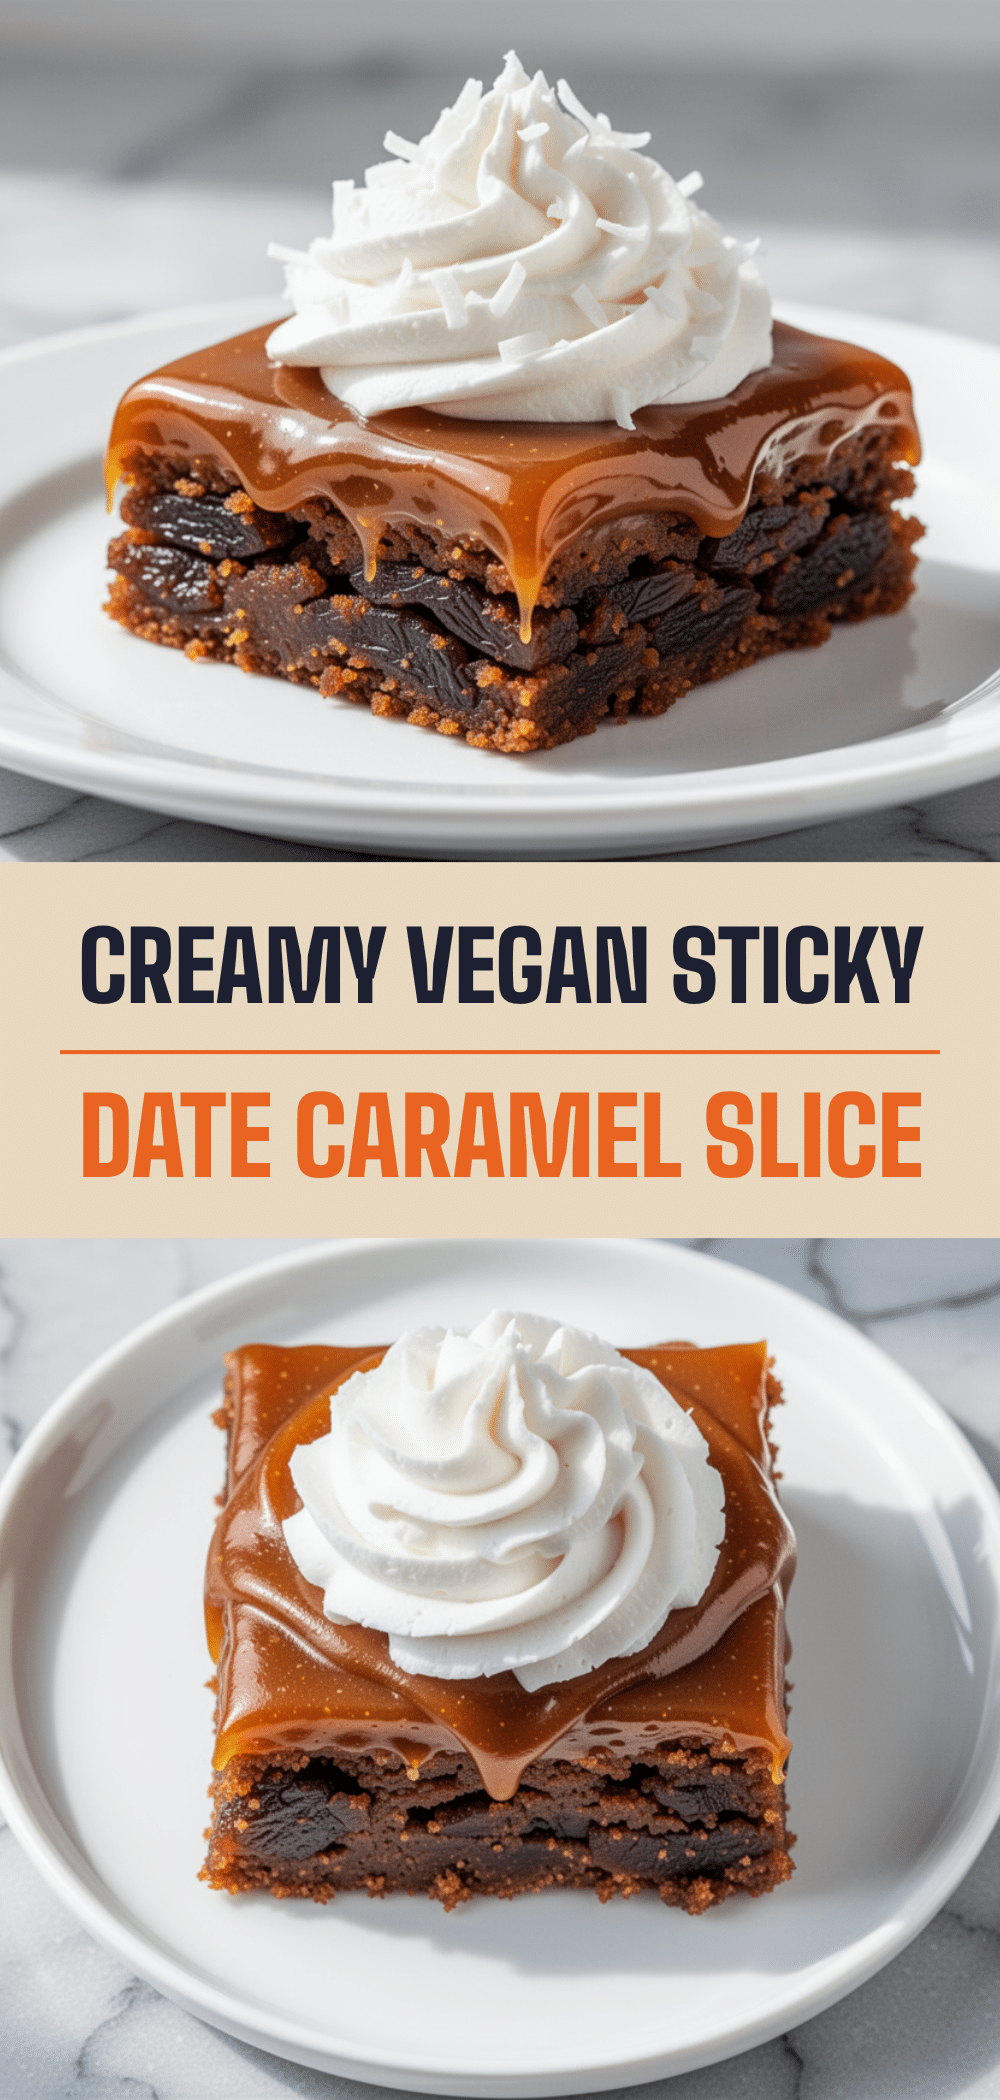
Pin This Recipe!
Vegan Sticky Date Caramel Slice
- Total Time: 1 hour
- Yield: 12 servings 1x
Description
A moist, sticky vegan date cake topped with a rich, creamy coconut cream caramel sauce. This easy, one-bowl dessert is naturally gluten-free friendly and perfect for make-ahead entertaining.
Ingredients
- 2 cups Medjool dates, pitted
- 1 cup boiling water
- 1 ½ cups all-purpose flour
- 1 teaspoon baking powder
- ½ teaspoon baking soda
- ½ teaspoon fine sea salt
- 2 teaspoons vanilla extract
- ½ cup full-fat canned coconut milk
- ¼ cup vegetable oil or melted coconut oil
- 1 can (400ml) full-fat coconut cream, chilled
- ½ cup pure maple syrup
- ½ cup packed brown sugar
- 2 tablespoons coconut oil
- 1 teaspoon vanilla extract (for sauce)
- 1 tablespoon vegan butter (optional)
Instructions
- Place pitted dates in a heatproof bowl and pour boiling water over them. Let soak for 10 minutes to soften.
- Drain the dates, reserving a splash of soaking water if needed. Add dates, coconut milk, oil, and vanilla to a blender. Blend until completely smooth.
- In a separate bowl, whisk together flour, baking powder, baking soda, and salt.
- Fold the blended date mixture into the dry ingredients until just combined. Do not overmix.
- Preheat oven to 350°F (175°C). Line a 9×9 inch baking pan with parchment paper.
- Pour batter into the pan and spread evenly. Bake for 25-30 minutes until set and springy to the touch. Cool completely in the pan.
- While the cake cools, combine coconut cream, maple syrup, brown sugar, coconut oil, and salt in a saucepan over medium heat.
- Whisk constantly and bring to a gentle simmer. Bubble for 5-7 minutes until thickened. Remove from heat and stir in vanilla.
- Pour warm caramel sauce over the completely cooled cake. Spread evenly.
- Refrigerate for at least 1 hour (preferably 2) to allow the caramel to set.
- Cut into squares with a sharp knife and serve chilled.
Notes
Use Medjool dates for the best texture. Chill the coconut cream can overnight to separate the solid cream for the sauce. Do not cut the cake while warm as it will crumble. The dessert keeps well in the fridge for up to 5 days.
- Prep Time: 15 minutes
- Cook Time: 30 minutes
- Category: Dessert
- Cuisine: American
Nutrition
- Serving Size: 1 square
- Calories: 280
- Sugar: 32
- Sodium: 120
- Fat: 10
- Saturated Fat: 7
- Carbohydrates: 45
- Fiber: 4
- Protein: 3
Keywords: vegan dessert, sticky date pudding, caramel slice, gluten-free dessert, coconut cream, date cake, easy baking, make-ahead dessert


